

Welcome to the second blog in our blog post series on Creating smart Apps with PowerApps and Microsoft Q&A Maker. We’ve so far created the BoT Service at Build the Bot service – QnA Maker
PowerApps provides an easy way to create a custom API to any RESTful service using a UI wizard in the PowerApps portal. Let’s create a custom connector the Bot service.
First, test the connection to the Bot service using Postman. Save the result in a collection and export the content as a json file. Refer to the PowerApps documentation or the Postman documentation to for the detailed steps.

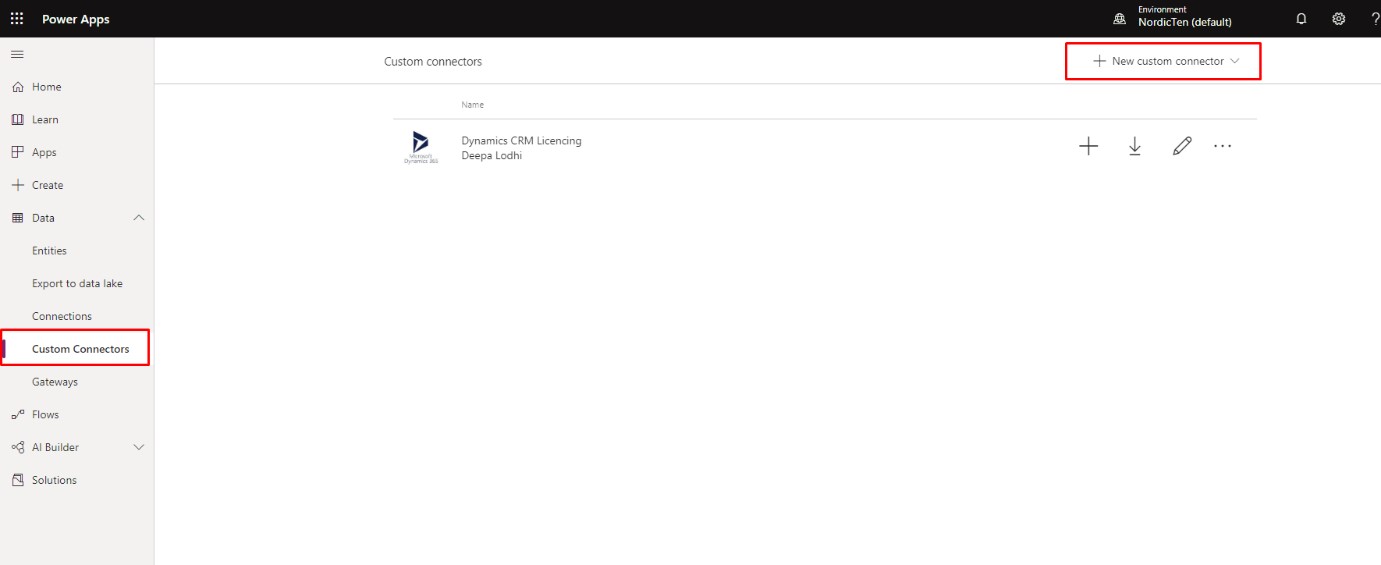
From the PowerApps portal, choose Data and custom connections. Click on Create custom connector.
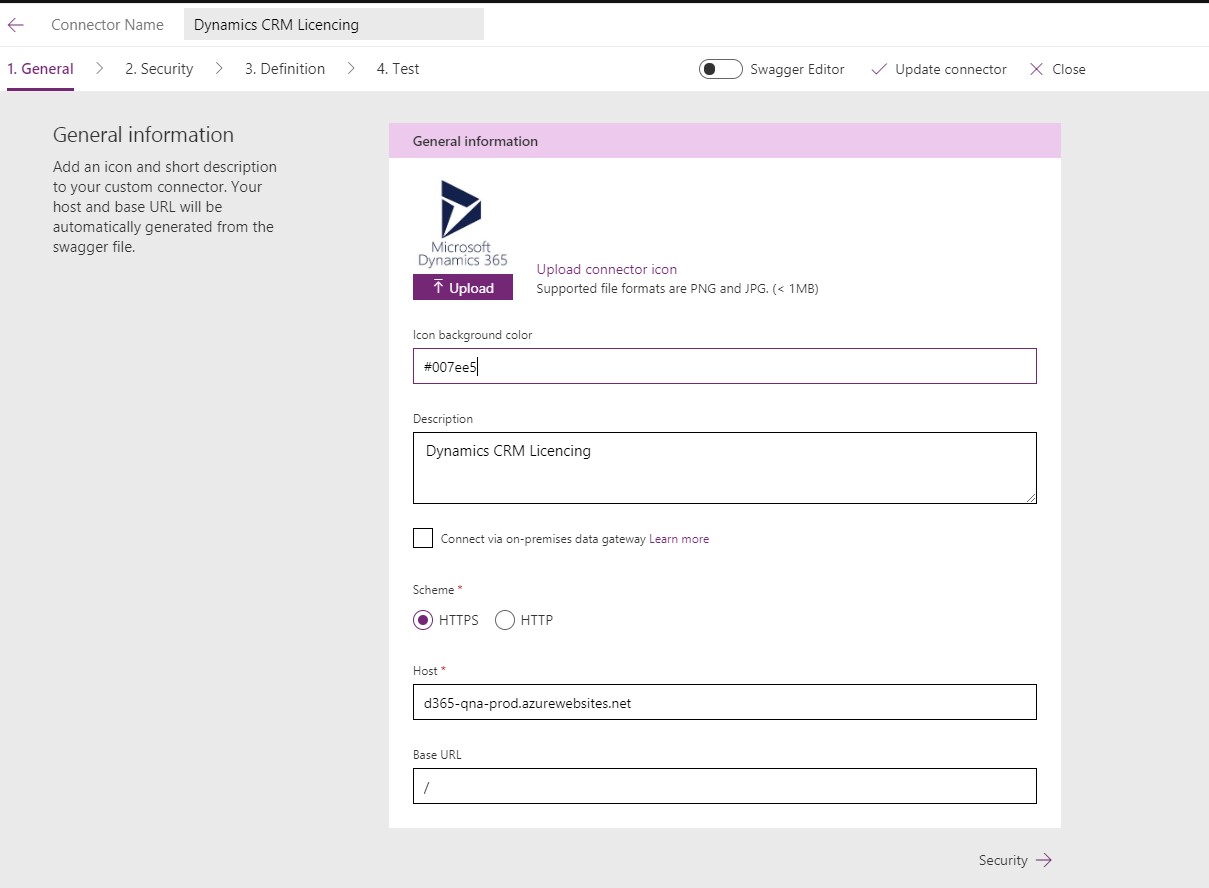
In the General tab, under Custom connectors choose to upload the Postman collection saved earlier.
Edit the name of the Connector at the top of the page, upload an icon for the connector and click Continue.
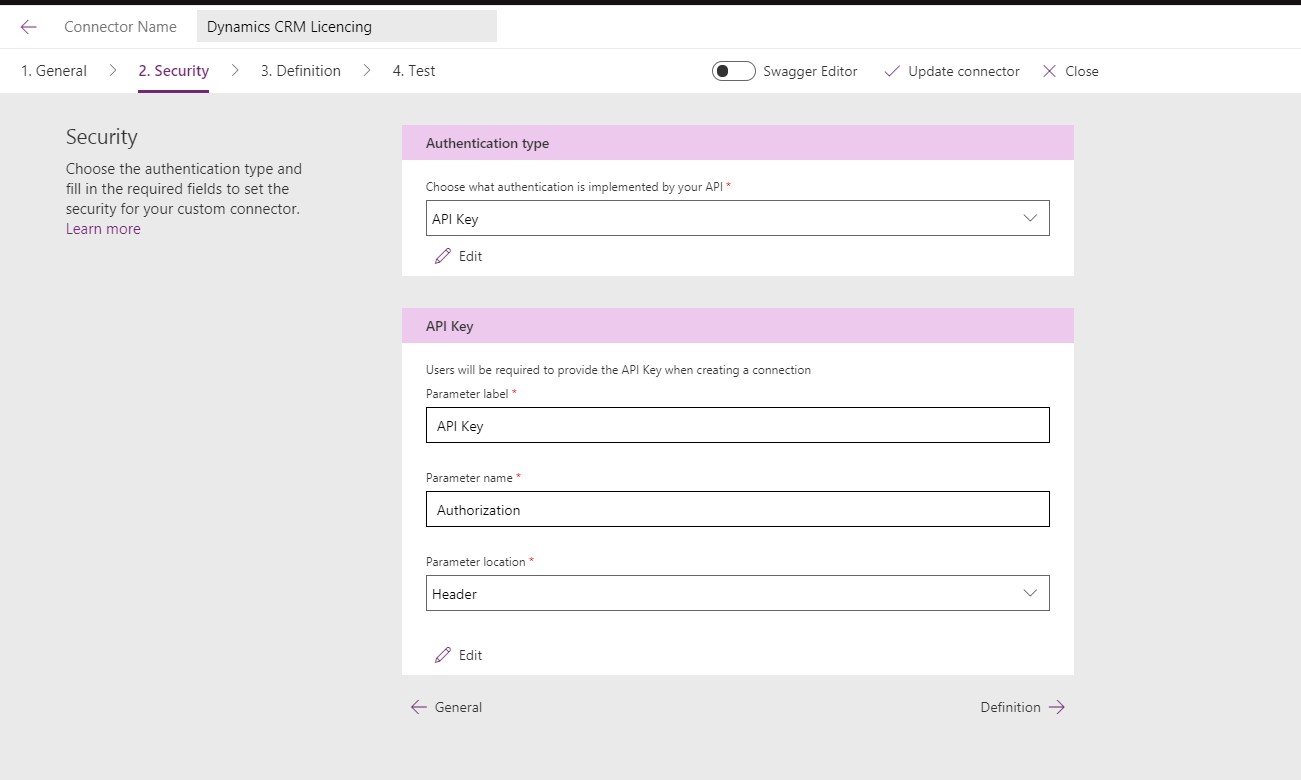
In the Security tab, choose authentication as API Key. Enter Ocp-Apim-Subscription-Key as the parameter and label name. Click Continue.
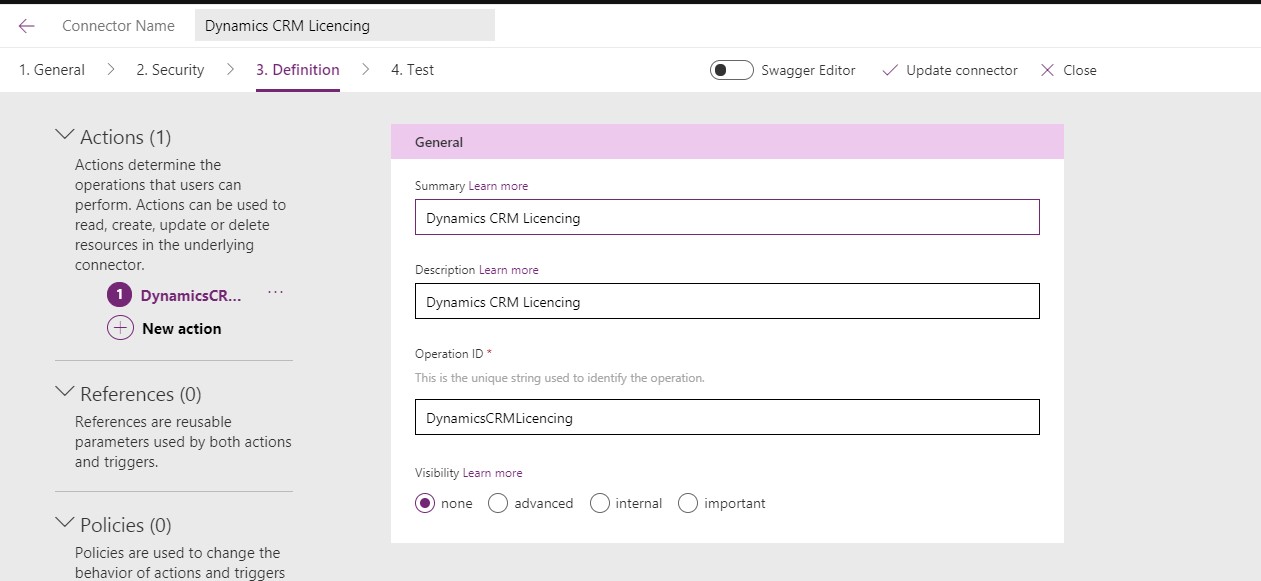
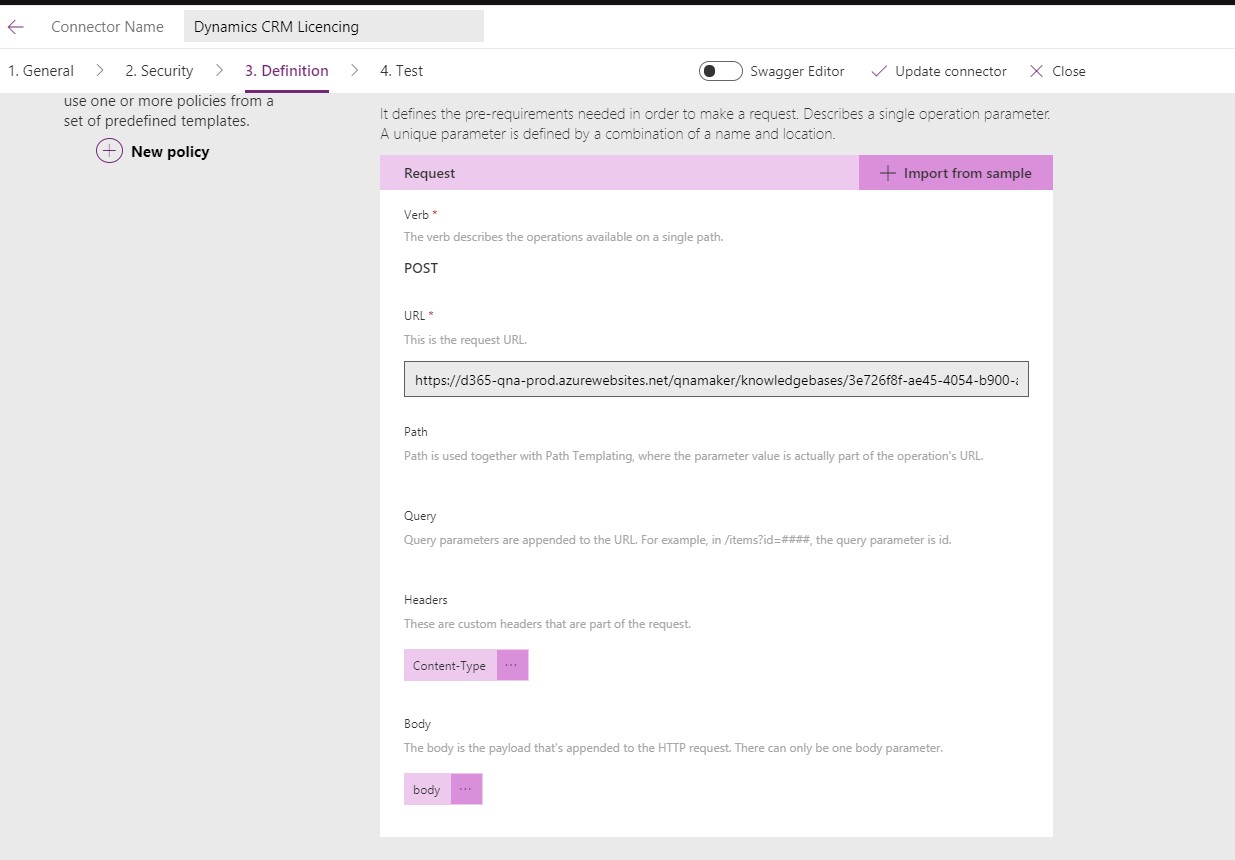
In the Definition tab, edit the General Section to update the Summary, Description and OperationID if required.
Edit the Request section and remove Ocp-Apim-Subscription-Key if it exists. This was already added in the previous step. Edit the Content-Type in the Request header and marked the Is Required as No.
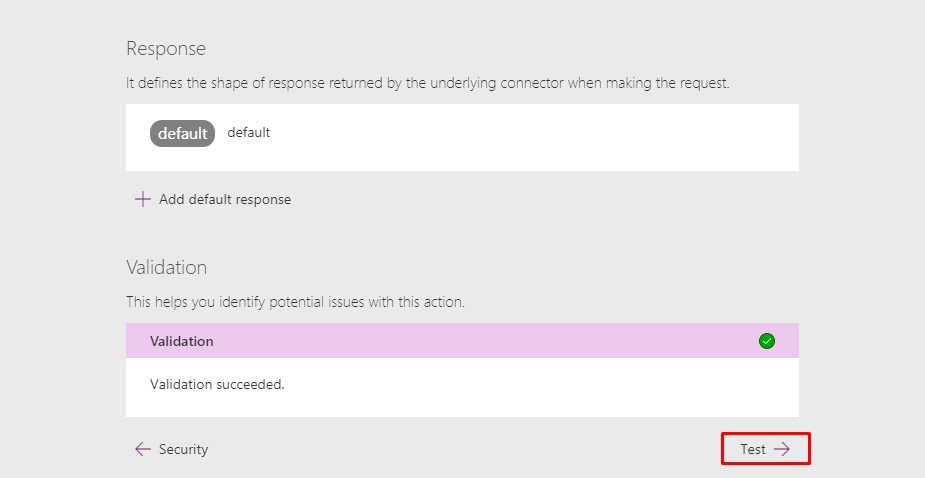
Edit the Response section by clicking the default. Click on Import from sample. Paste the response from the Postman query as below into the Body field.

You should now see answer and score added to the Body output.
Click on Create Connector. Once the connector has been created, choose the Test tab.
In the Test tab, click on New Connection to create an instance of the connection. In the pop-up enter the subscription key information. Click Create.
Go back to Manage custom connectors and click Edit on the connector you created earlier. We can now test this custom connection. Navigate to the Test tab and under Operations enter a query string. You should see a response from the QnAMaker service.
Now we have the custom API to the Bot service ready and we can use it to build our App. You can download the swagger definition of the custom API for reference. Replace the paths with your URL.
In next article, we will go through the Creation of the App.