
Introduction:
In this blog, we will learn how to create a Databricks in the Azure Portal.
Pre-requisites:
A user with a Contributor role in Azure Subscription.
Description:
Official Definition:
Azure Databricks is an Apache Spark-based analytics platform optimized for the Microsoft Azure cloud services platform. Designed with the founders of Apache Spark, Databricks is integrated with Azure to provide one-click setup, streamlined workflows, and an interactive workspace that enables collaboration between data scientists, data engineers, and business analysts.
Components:
1. Cluster
In Azure Databricks you can create two different types of clusters: standard and high concurrency. Standard clusters are the default and can be used with Python, R, Scala, and SQL. High-concurrency clusters are tuned to provide efficient resource utilization, isolation, security, and the best performance for sharing by multiple concurrently active users. High concurrency clusters support only SQL, Python, and R languages. See High Concurrency Clusters to learn more.
2. Notebook
A notebook is a web-based interface to a document that contains runnable code, visualizations, and narrative text. Notebooks are one interface for interacting with Azure Databricks.
3. Language
4. Workspace
A Workspace is an environment for accessing all of your Azure Databricks assets. A Workspace organizes notebooks, libraries, dashboards, and experiments into folders and provides access to data objects and computational resources.
Steps:
1. Login to Azure Portal.
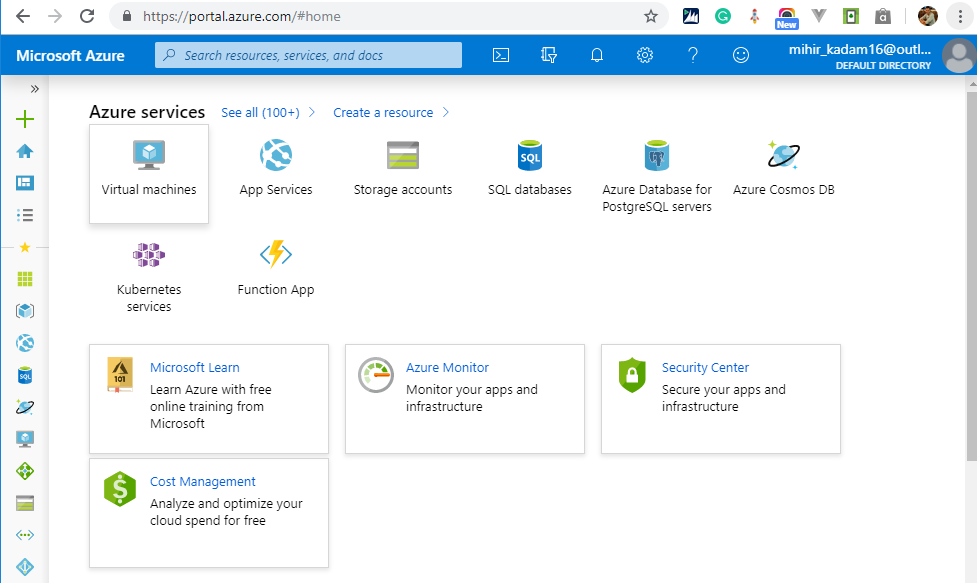
2. Create a New Resource Group or use an Existing Resource Group.
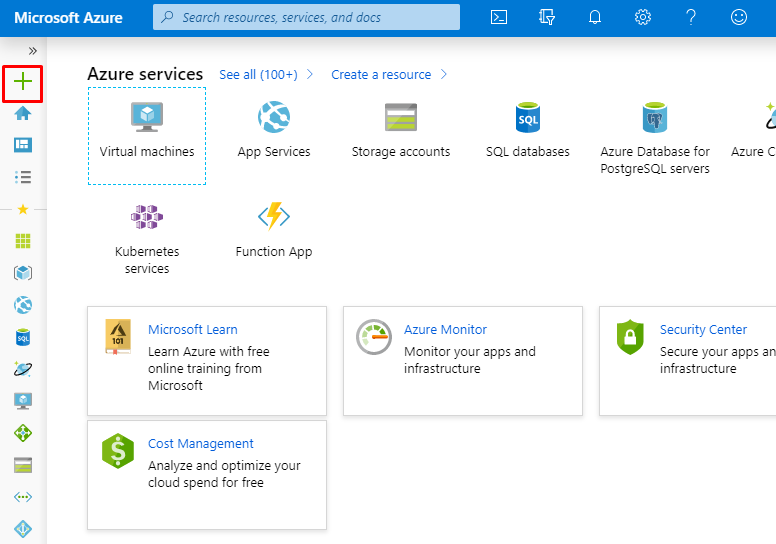
3. Click on + Icon(Create Resource)
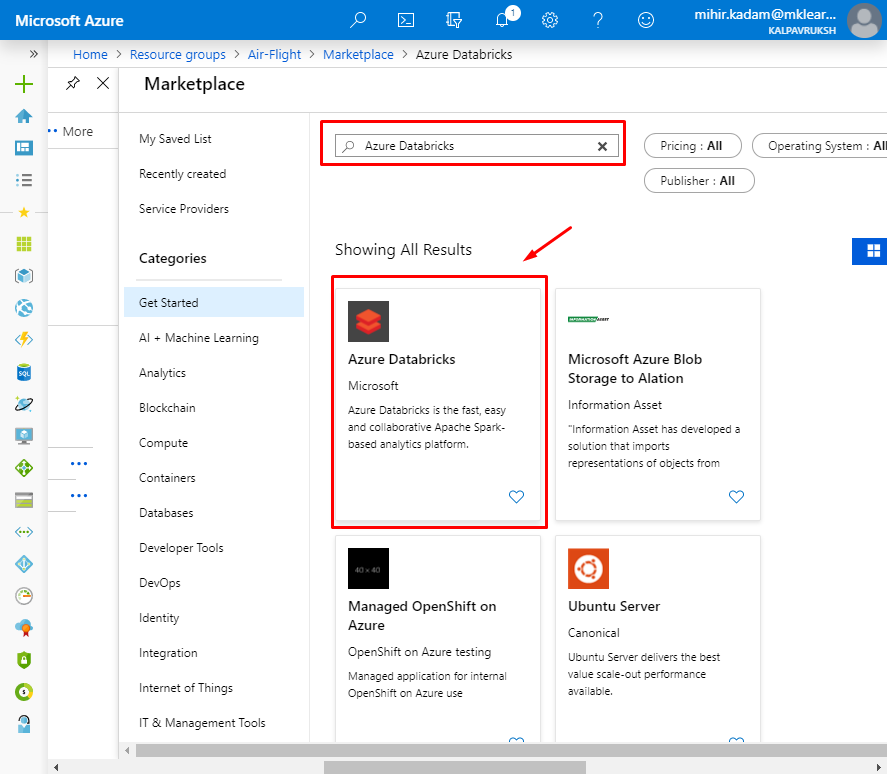
4. In the search box, Type Azure Databricks.
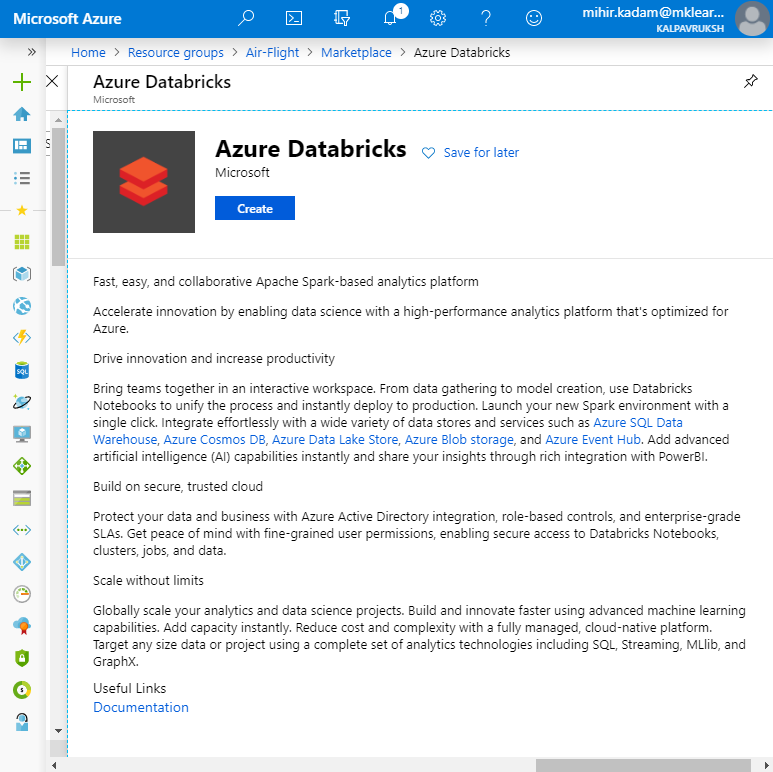
5. Click on the Create button.
6. Provide basic detail.
Workspace name: Provide a name for your Databricks workspace.
Subscription: From the drop-down, select your Azure subscription.
Resource group: Specify whether you want to create a new resource group or use an existing one. A resource group is a container that holds related resources for an Azure solution. For more information, see the Azure Resource Group overview.
Location: Select Central US. For other available regions, see Azure services available by region.
Pricing Tier: Choose between Standard, Premium, or Trial. For more information on these tiers, see Databricks pricing page.
We have selected Premium Tier because it allows us to connect Power BI service.

7. It takes a few minutes to create the account. You’ll see a message that states Your deployment is underway.
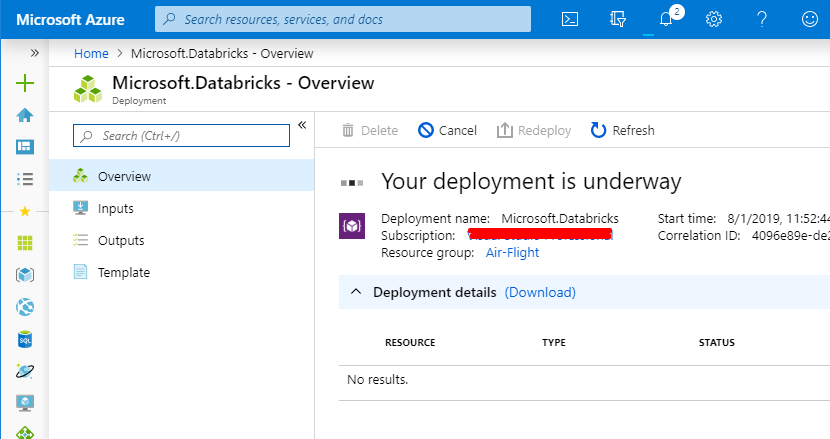
8. After the deployment is completed, click on Go to Resource.
9. In the left panel, select Overview option and click on Launch Workspace.
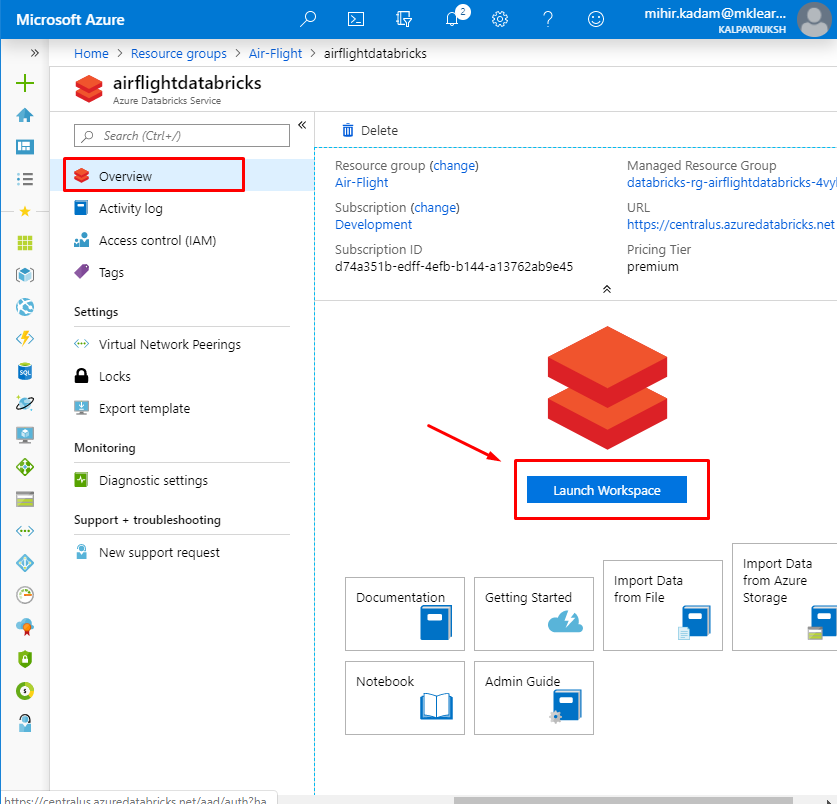
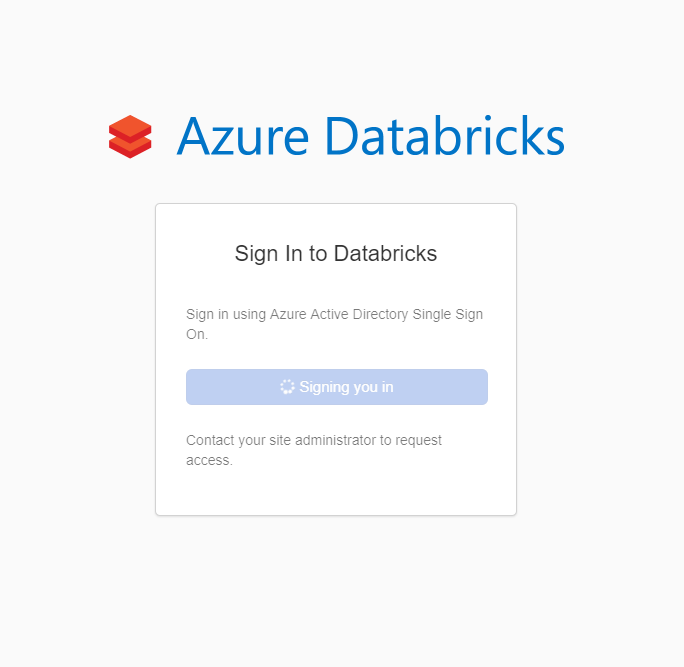
It will redirect to another window.
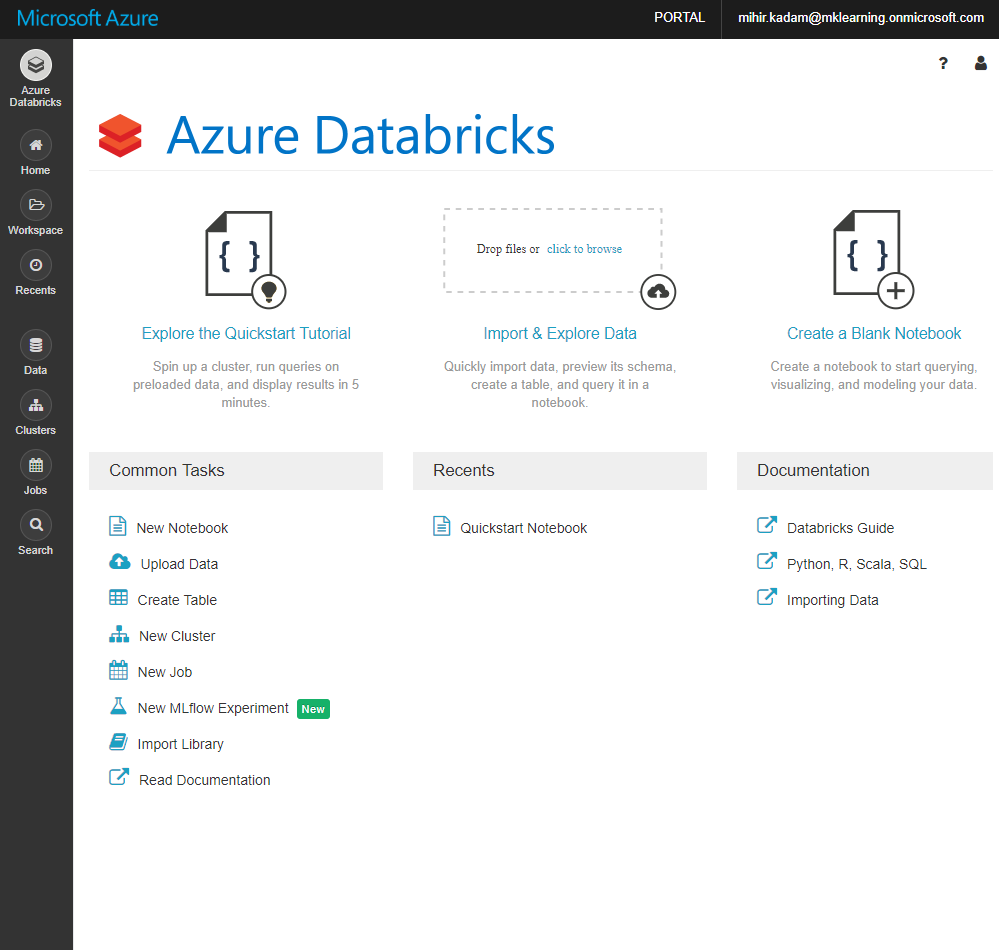
This is a home page of the Azure Databricks.
Let’s understand with a sample code. We will follow the example given in the tutorials.
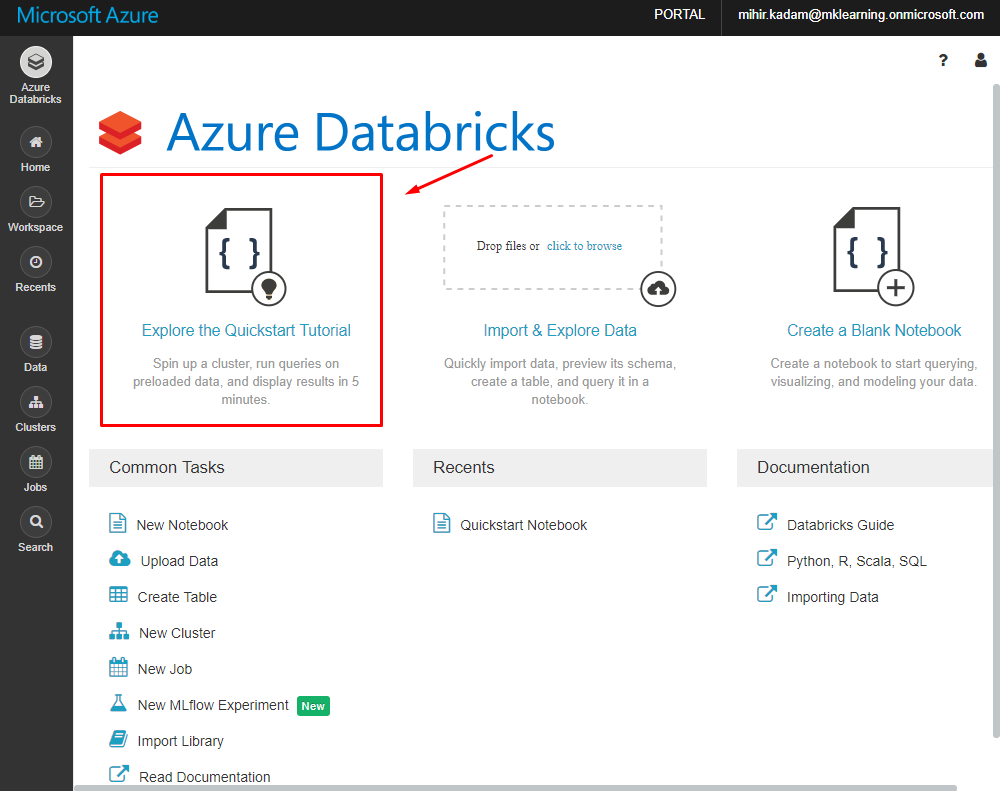
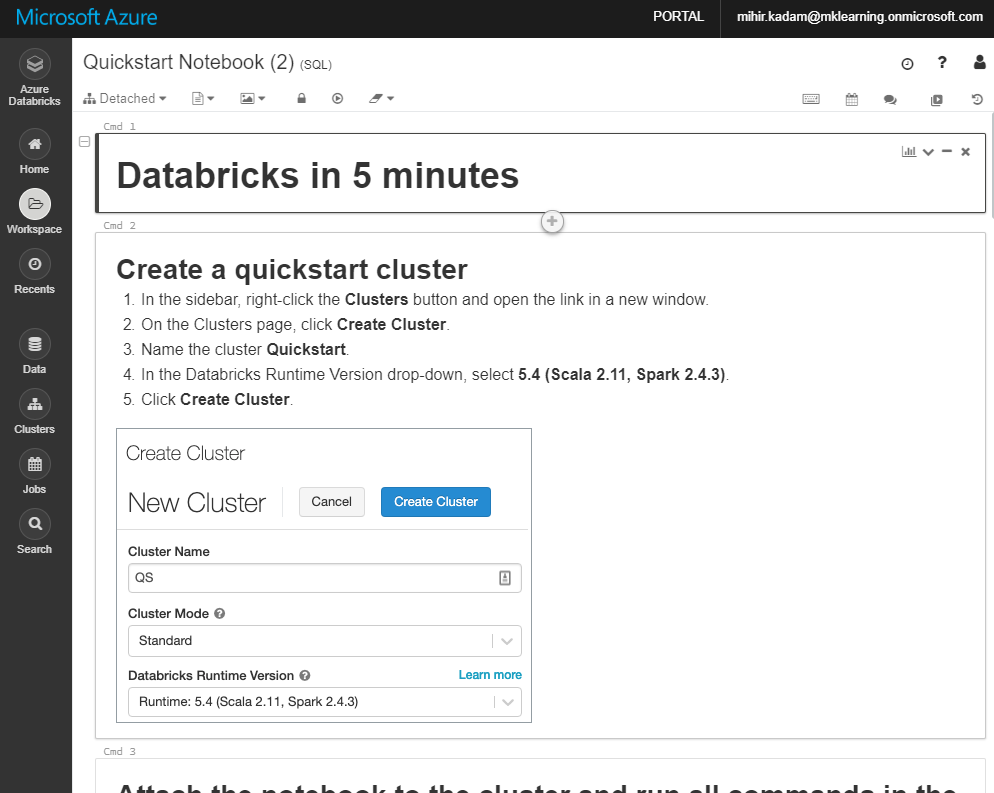
Example Steps:
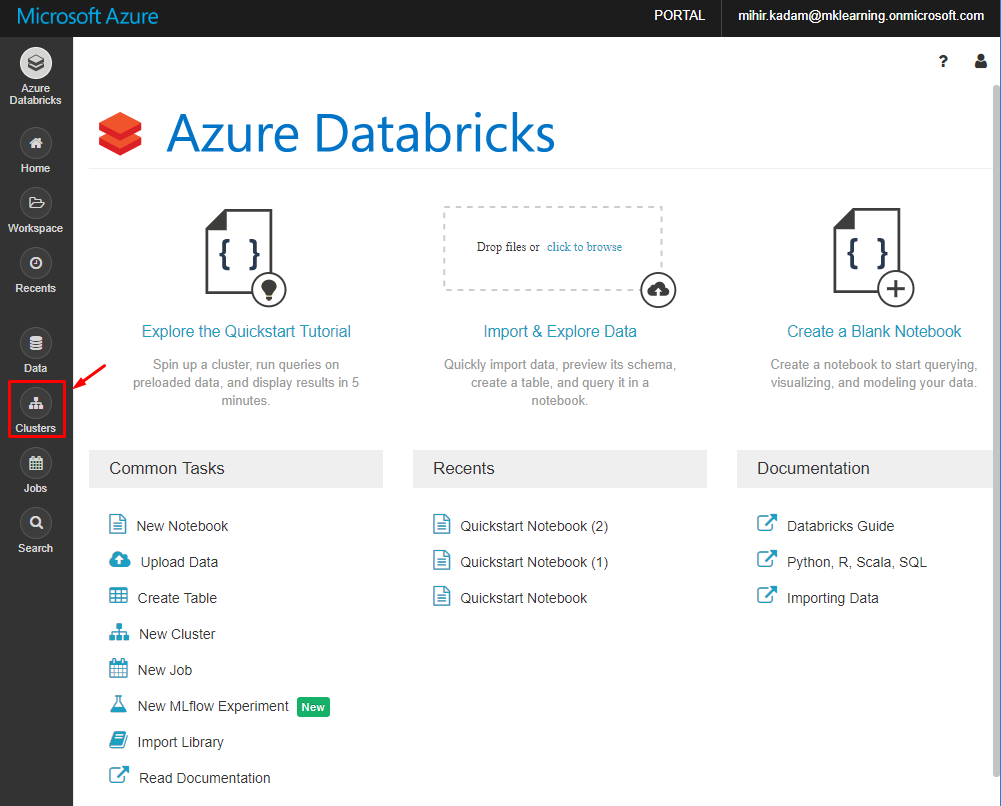
1. First let’s create a cluster. In the left panel, Click on clusters icon.
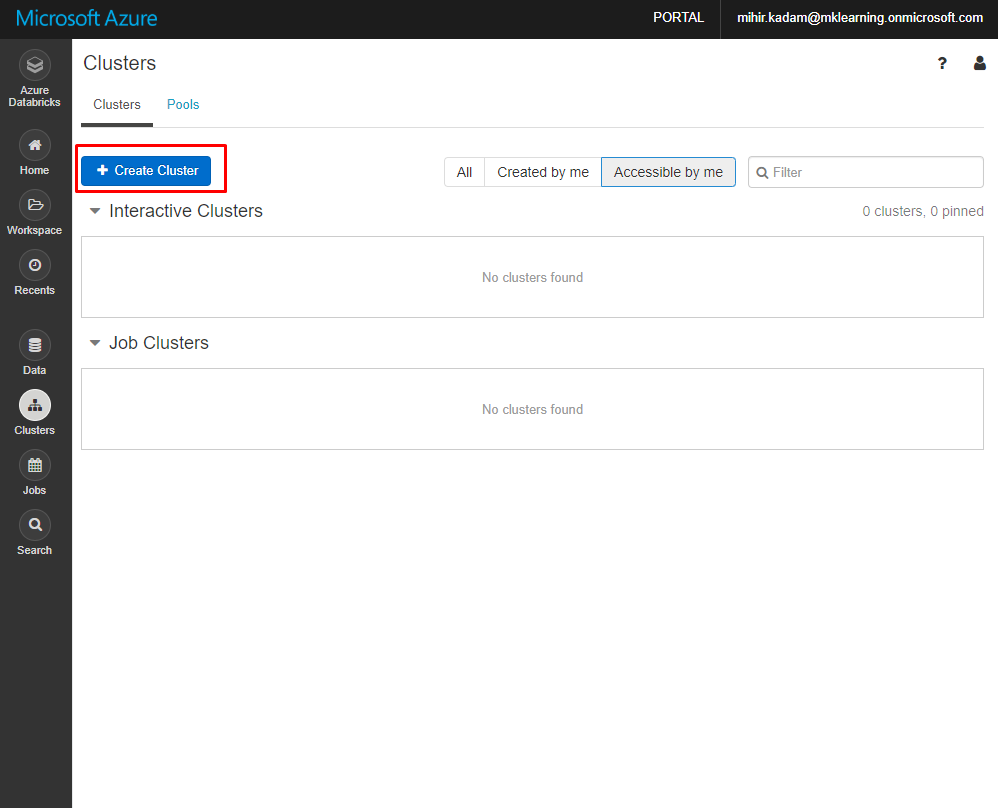
2. Click on + Create Cluster button.
3. Enter the name of the cluster and click on Create Cluster button.
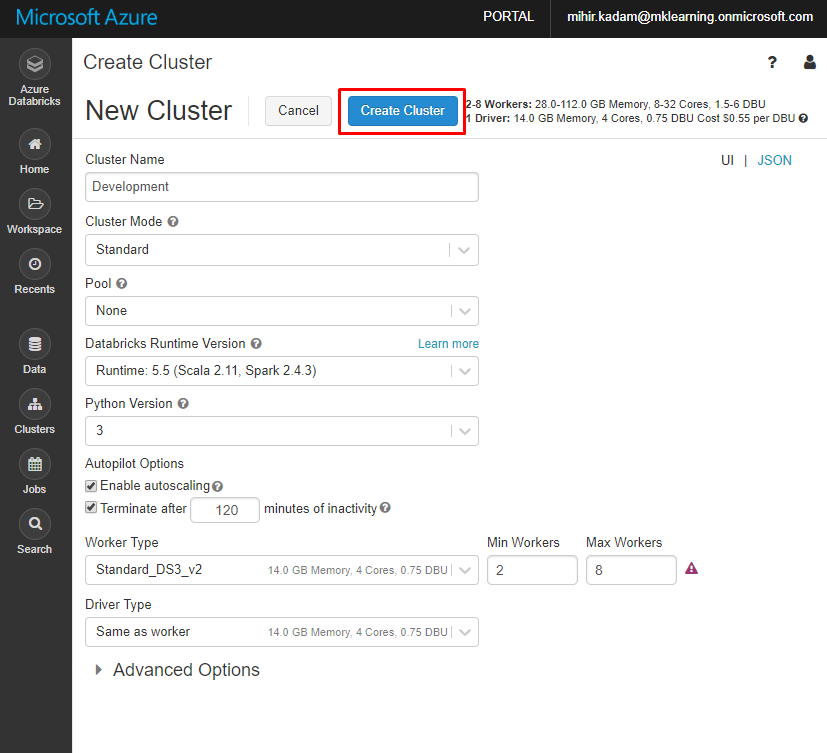
Note: Change the worker type depending upon the requirement.
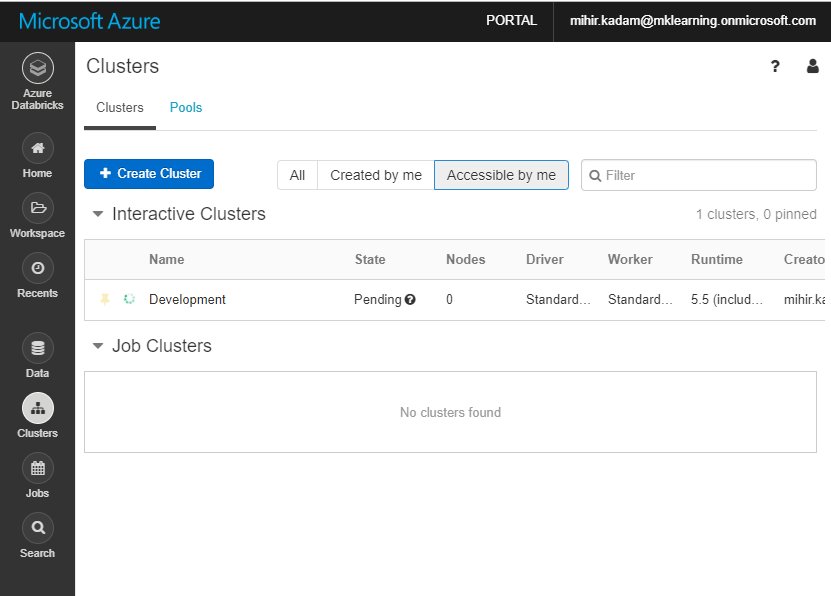
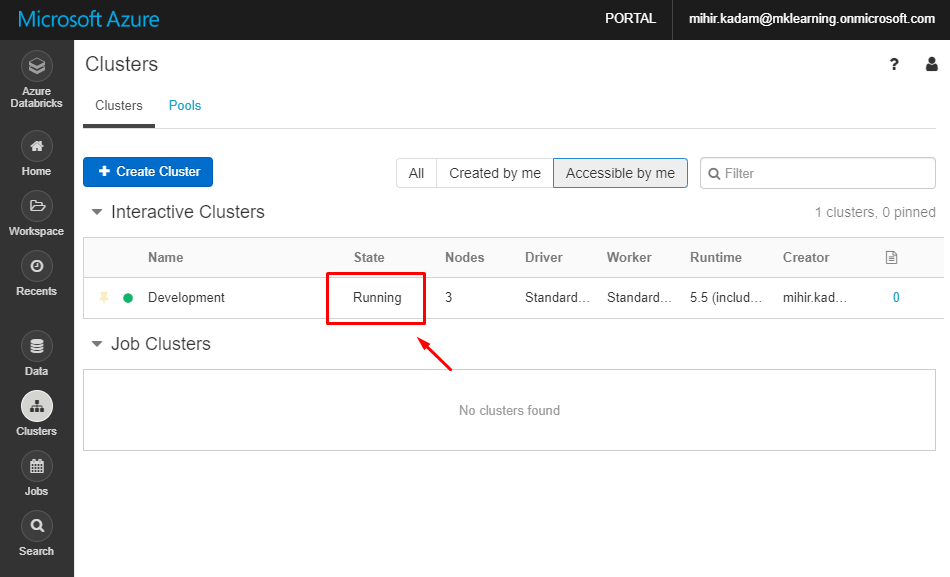
Kindly wait for few minutes to provision the cluster. You will see all the running cluster under the Interactive Cluster view.
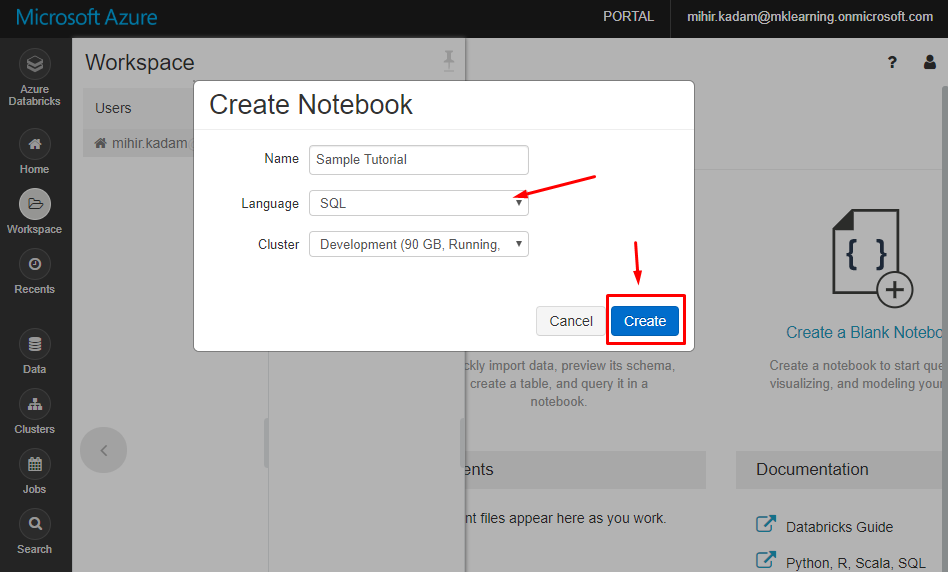
4. In the left Panel, select Workspace and Create a Notebook.
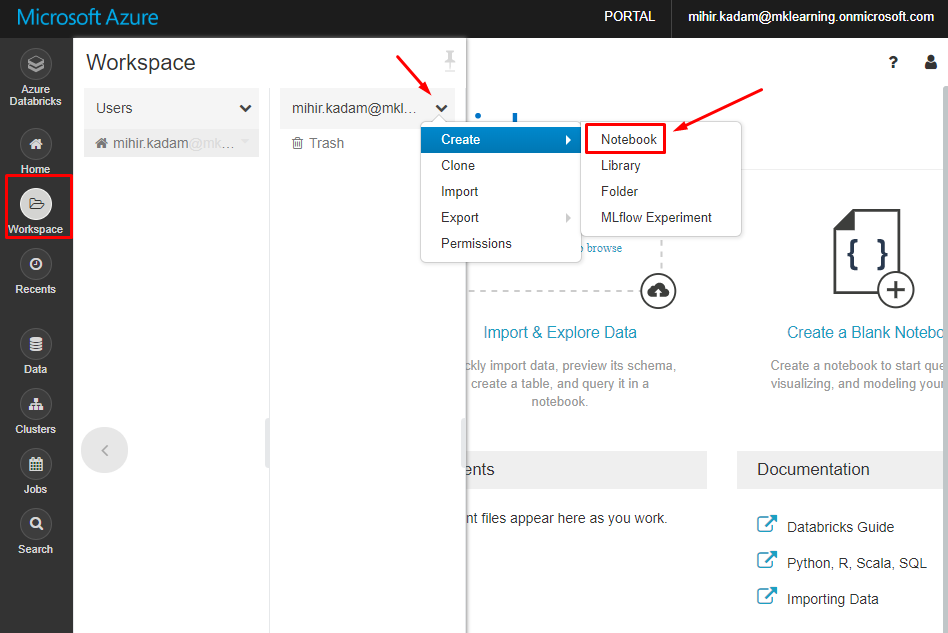
5. Click on Create button.
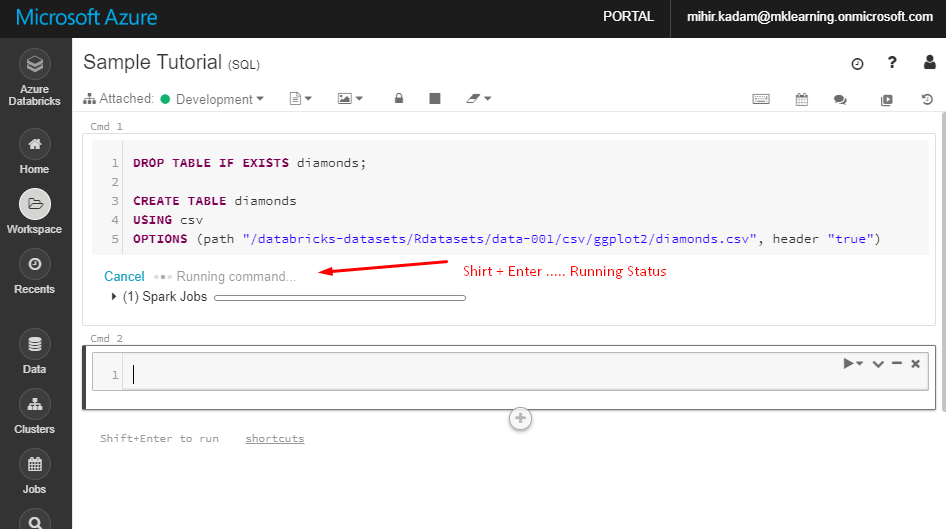
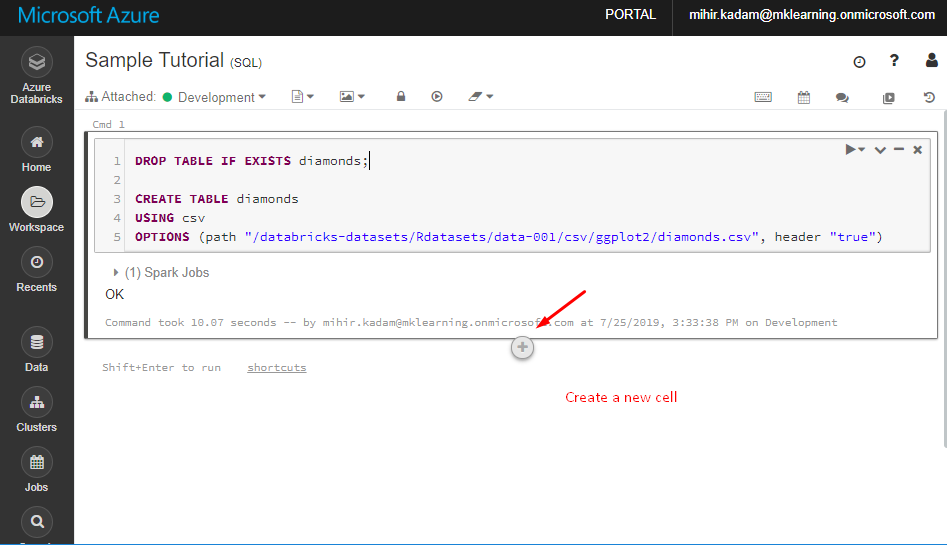
6. Execute the sample command.
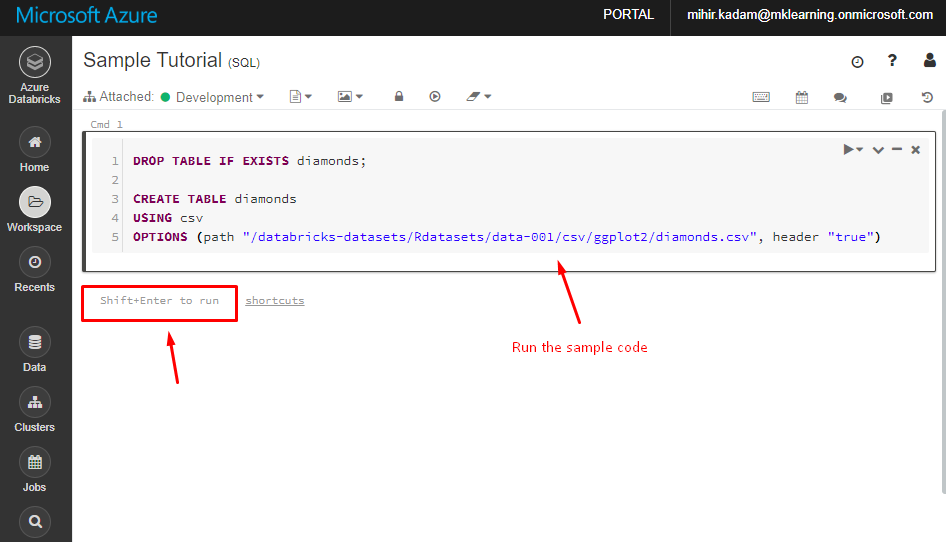
DROP TABLE IF EXISTS diamonds;

CREATE TABLE diamonds
USING csv
OPTIONS (path "/databricks-datasets/Rdatasets/data-001/csv/ggplot2/diamonds.csv", header "true")
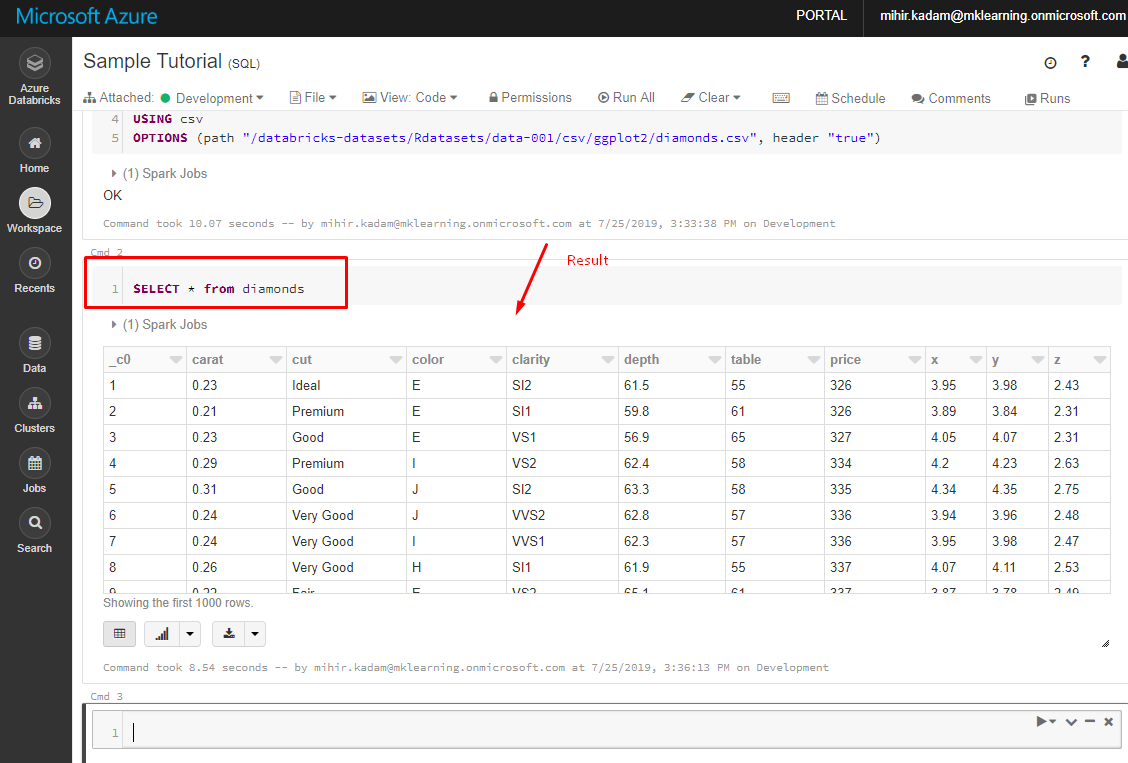
SELECT * from diamonds
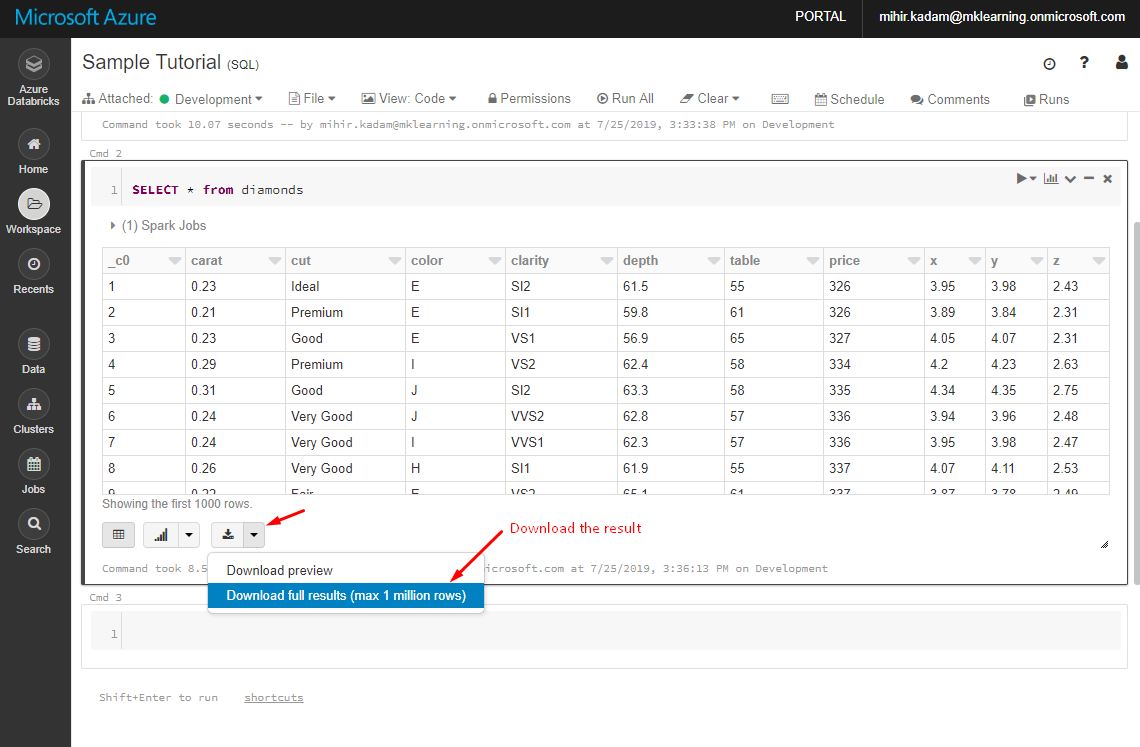
You can run various SQL queries as per the requirements.
References:
https://docs.microsoft.com/en-us/azure/azure-databricks/what-is-azure-databricks


