

Introduction:
In this blog, we will learn how to create a Data Lake using Azure Portal.
Pre-requisites:
A user with a Contributor role in Azure Subscription. Click here to learn how to assign a role to the user.
Description:
A data lake stores the structure, unstructured data in a flat file format. It does not have any file size or read/write limitation to perform data analytics.
Official Definition:
Data lake eliminates all the restrictions of a typical data warehouse system by providing unlimited space, unrestricted file size, schema on read, and various ways to access data.
Steps:
1. Login to Azure Portal https://portal.azure.com.
2. Create a New Resource Group or Select an Existing Resource Group. Please follow the link to learn how to create a new Resource Group.
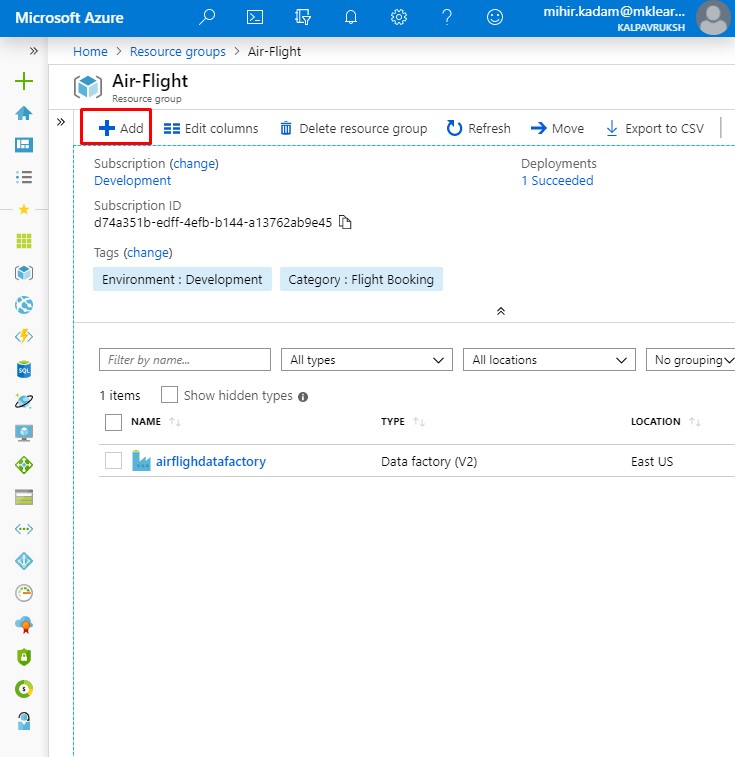
3. Open specific resource Group. In our case, we have open Air-Flight resource group.
Click on + Add button to create a new resource.
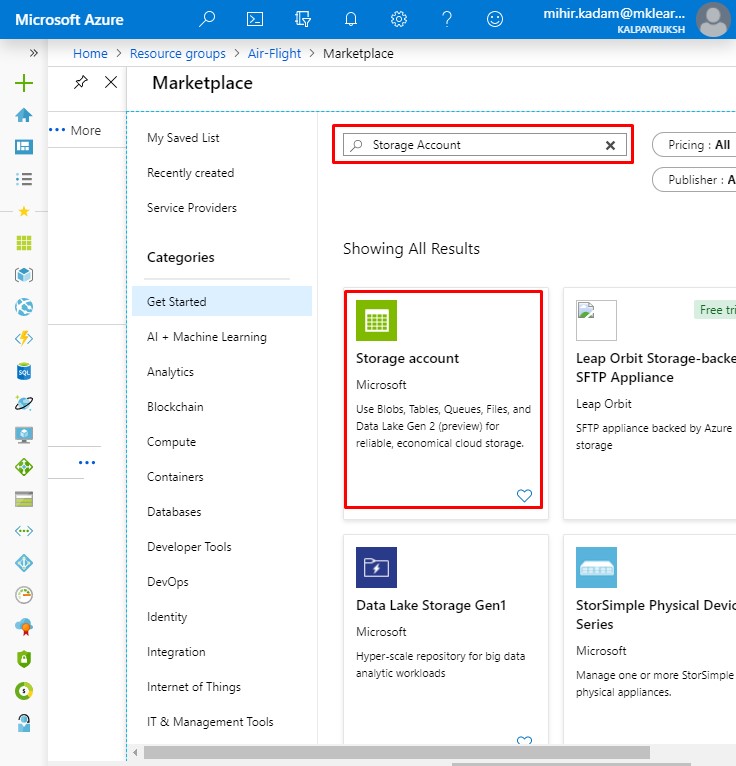
4. In the search box, Type “Storage Account”.
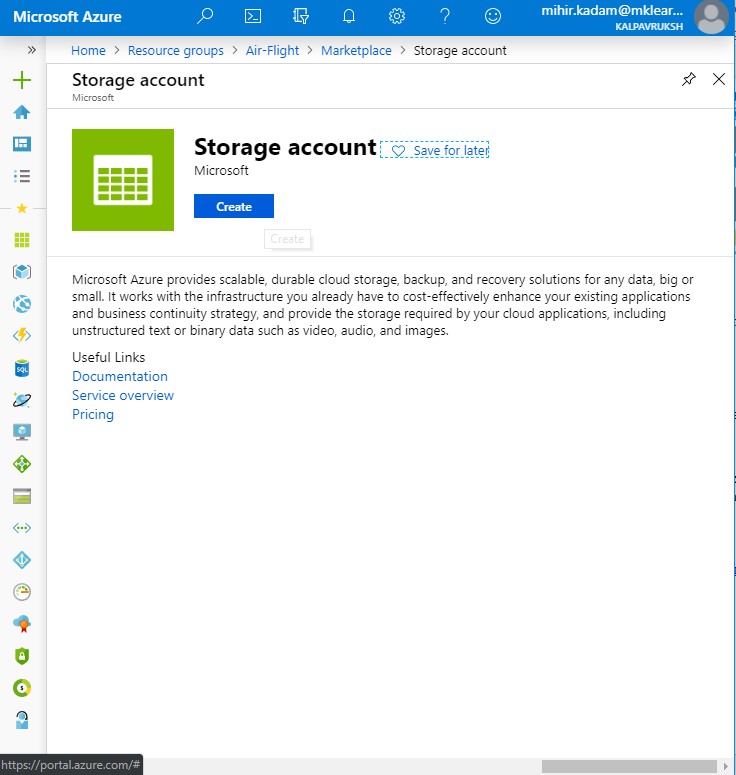
5. Click on Create Button.
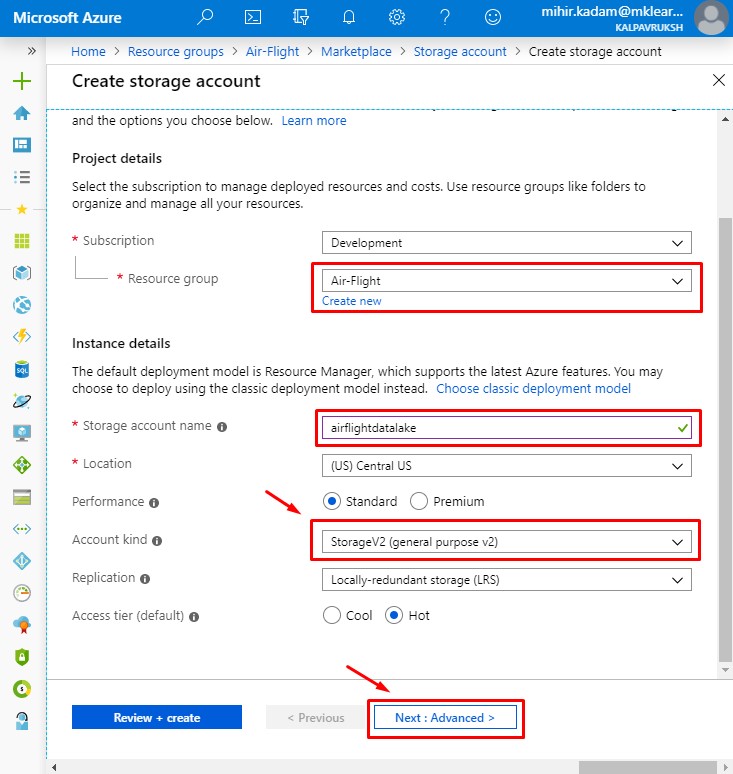
6. Enter the basic details.
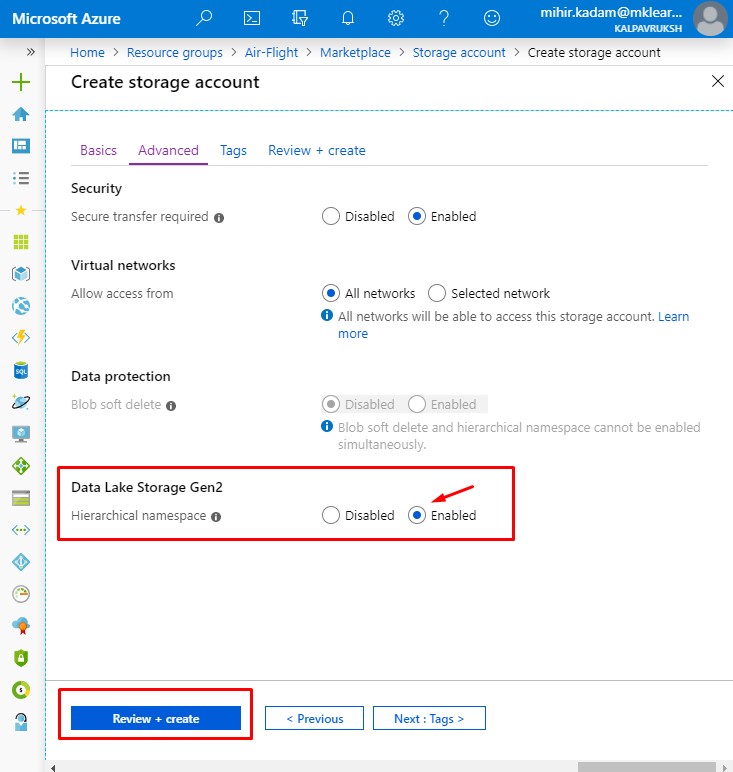
7. Enable hierarchical namespace and click on Review + create button
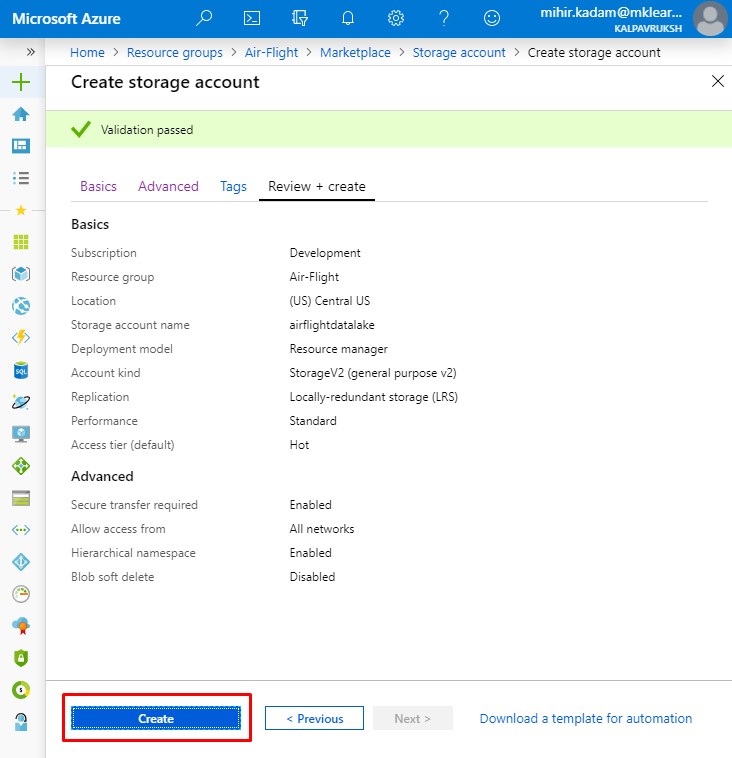
8. Once the validation is completed, click on Create button.
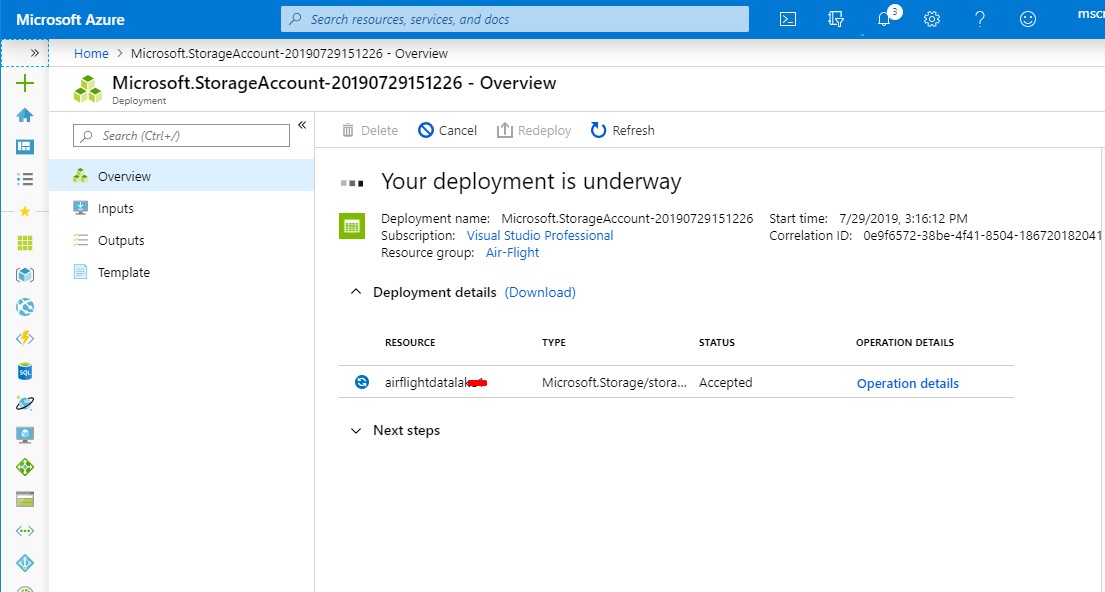
9. It takes a few minutes to create the account. You’ll see a message that states Your deployment is underway. Click on Go to Resource when deployment is completed.
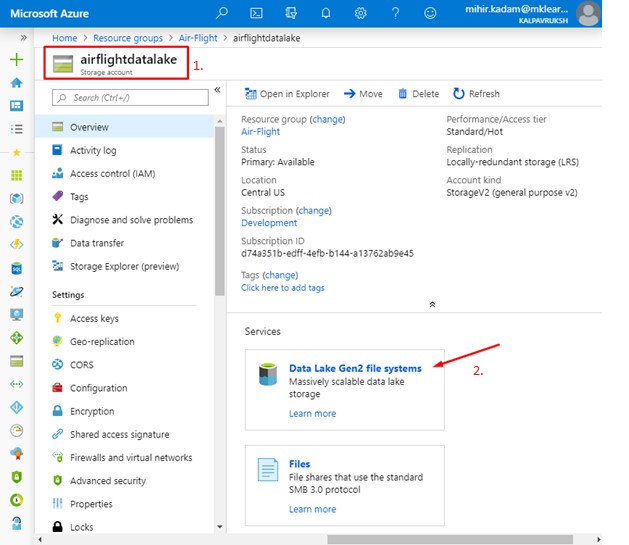
10. Open the data lake service and click on Data Lake Gen2 file systems.
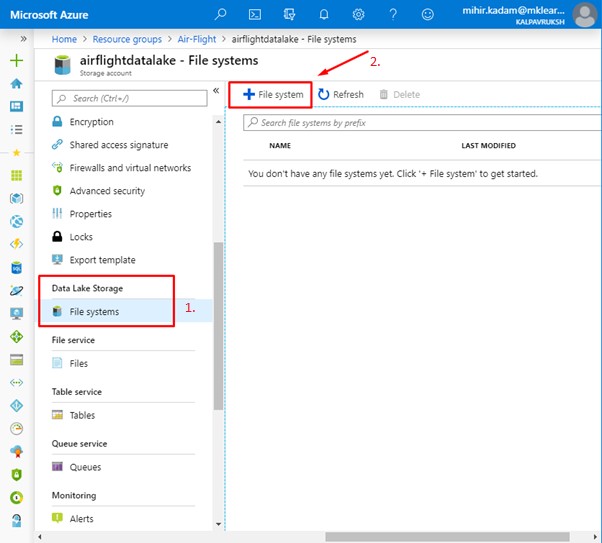
11. In the left panel, select File Systems and click on + File system.
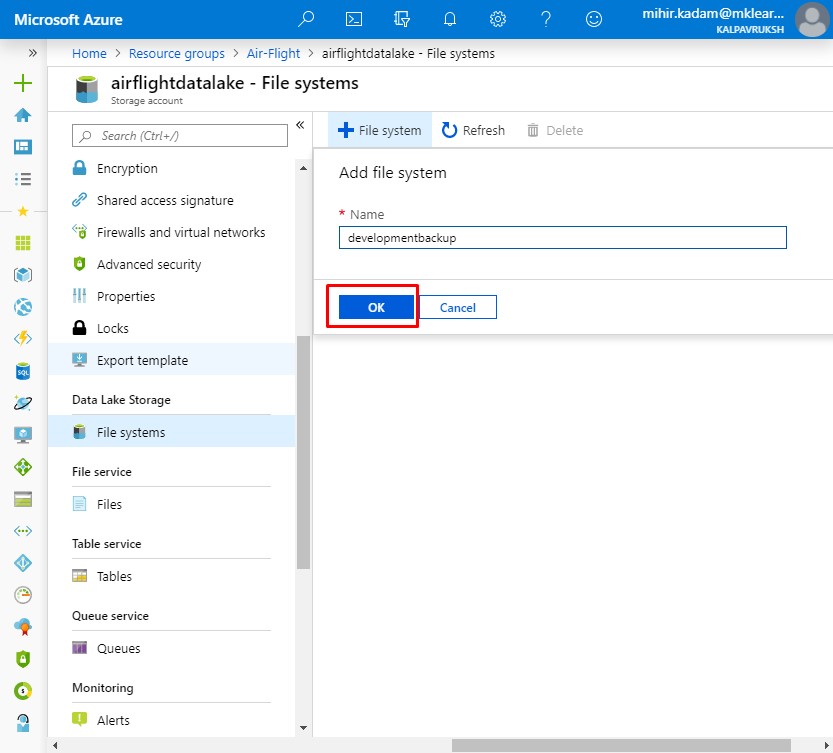
12. Give a meaningful name for the file system.
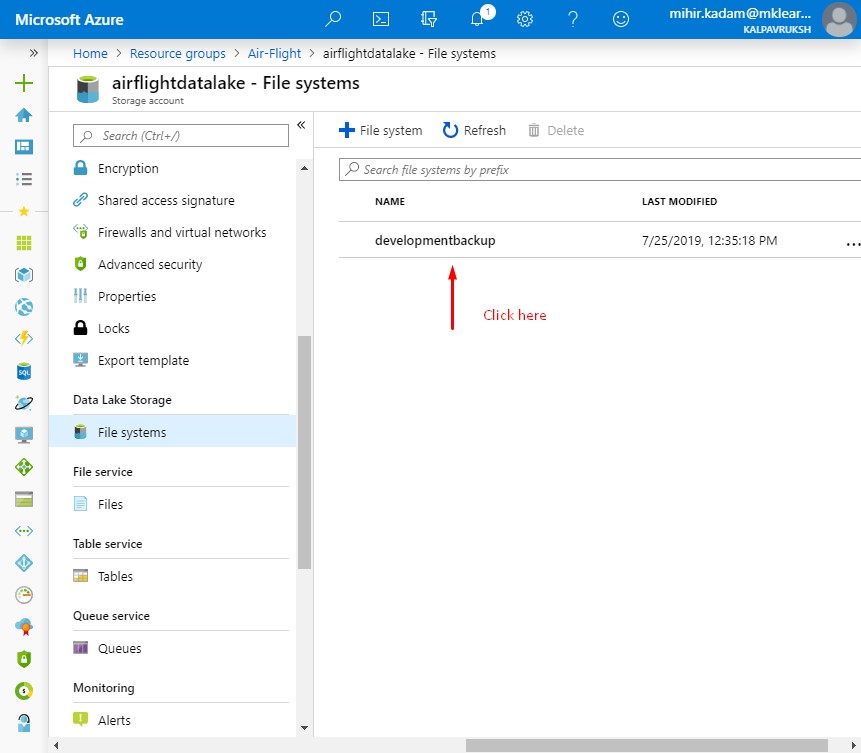
13. Click on file system name.
14. Download the storage explorer to view and manage files.
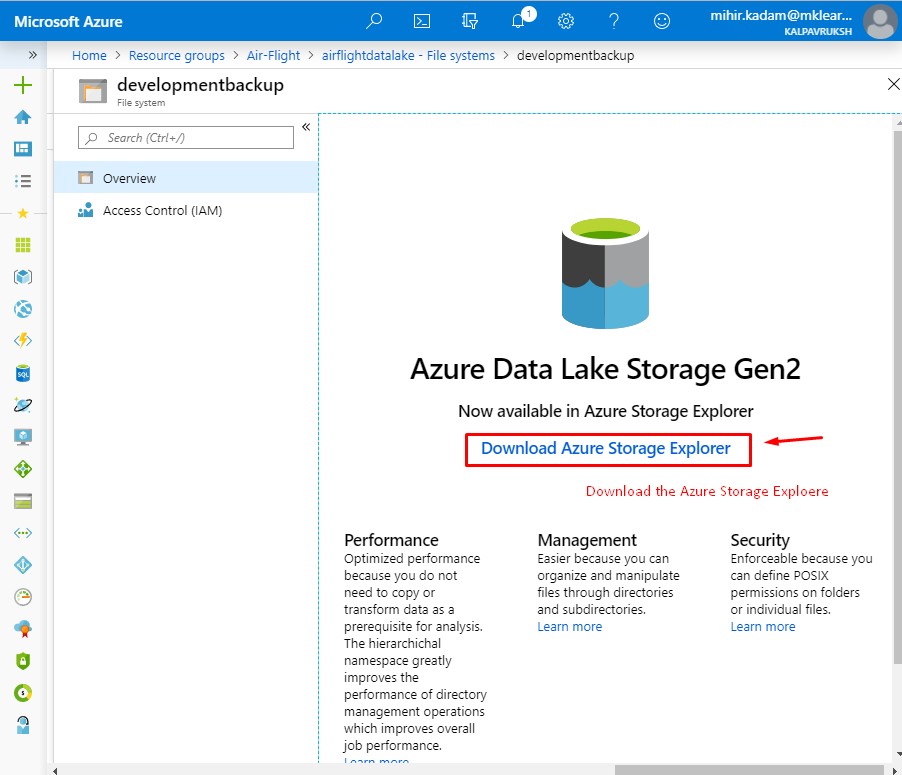
Azure storage explorer will allow us to manage the files stored in Azure Data Lake.
Data Factory allows us to store the flat-file format in Azure Data Lake. Kindly refer to this blog on how to migrate data from any source to Azure Data Lake.
References:
1. https://docs.microsoft.com/en-in/azure/storage/blobs/data-lake-storage-introduction
2. https://azure.microsoft.com/en-in/pricing/details/storage/data-lake/