

Introduction:
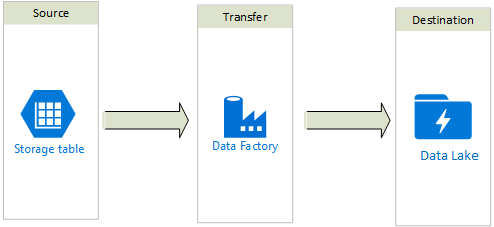
In this blog, we will learn how to migrate data from table storage to Data Lake.
In a similar way, you can perform a migration between different services supported by Azure Data Factory.
Click here to learn more about supported services.
Pre-requisites:
1. A user with a Contributor role in Azure Subscription.
2. Access to Azure Storage Account
3. Access to Azure Data Lake service
4. Azure Data Factory service
Modules:
1. Connections
a. Azure Table Storage Account
b. Azure Data Lake Account
2. Data Sets
a. Azure Table Storage
b. Azure Data Lake
3. Pipeline
a. Copy Activity
4. Monitor
Steps:
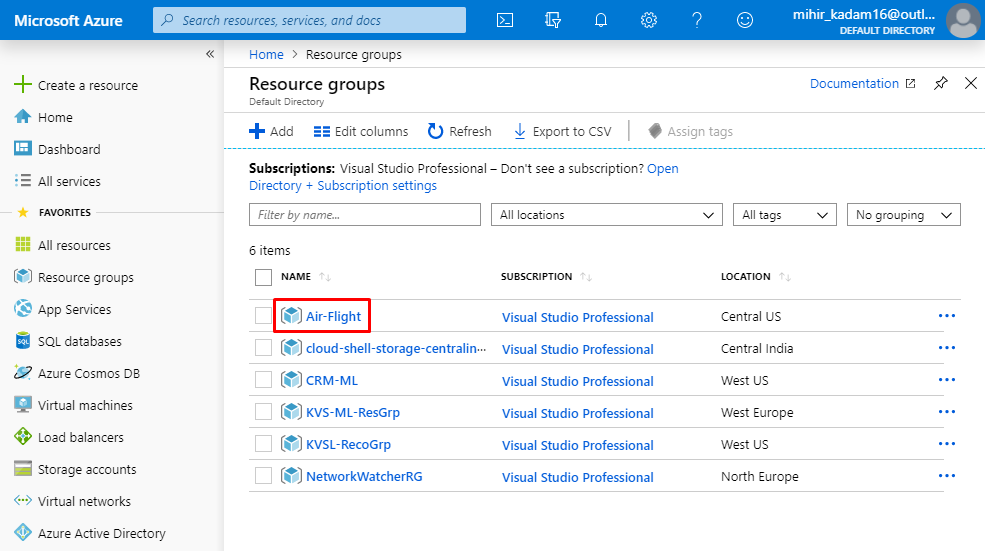
1. Login to Azure Portal.
2. Open the Resource Group.
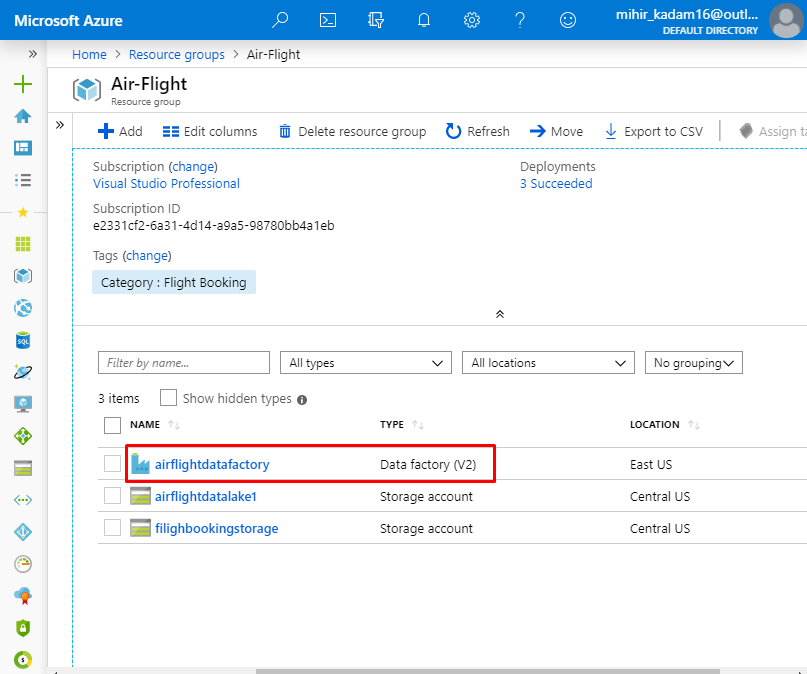
3. Click on the Azure Data Factory service.
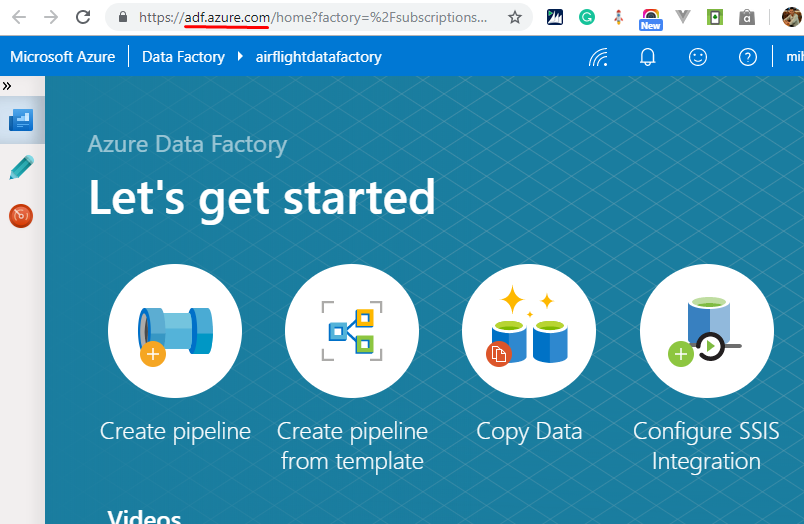
4. From the left navigation panel, select Overview and click on “Author & Monitor”.
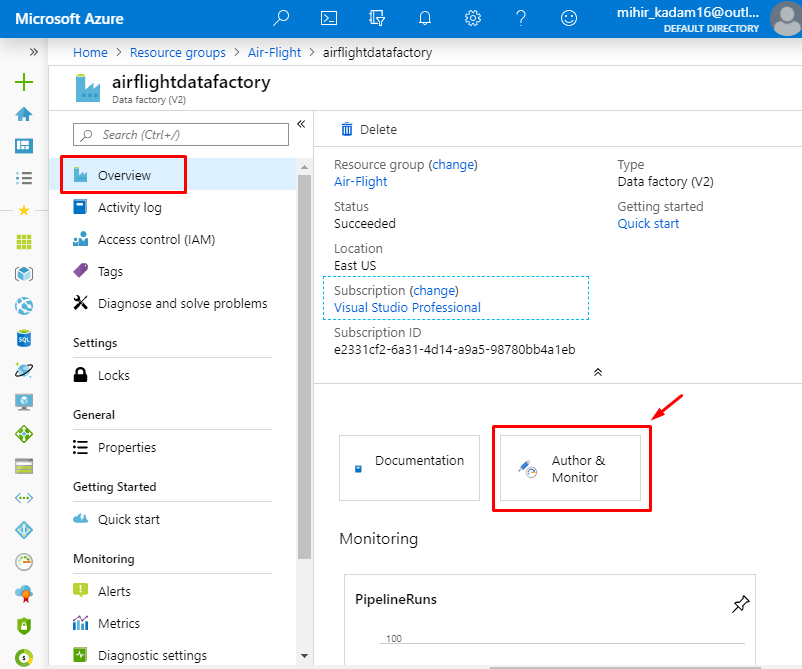
5. It will open a new tab. It’s a dashboard for the Azure Data Factory.
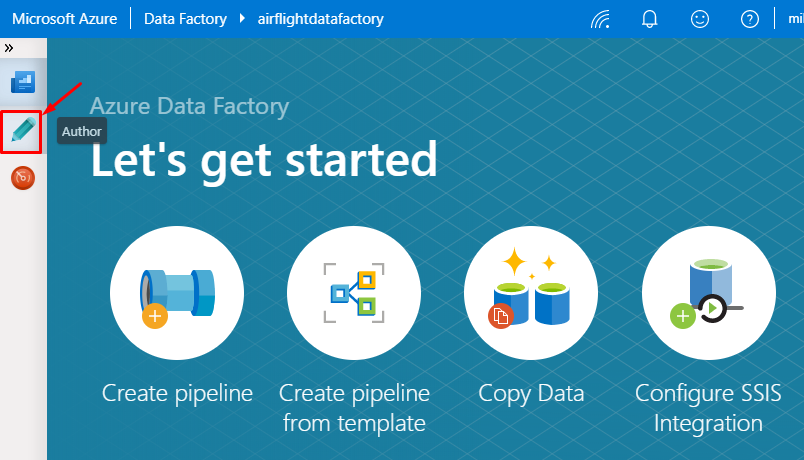
6. Click on “Author” to start constructing the Data Factory components.
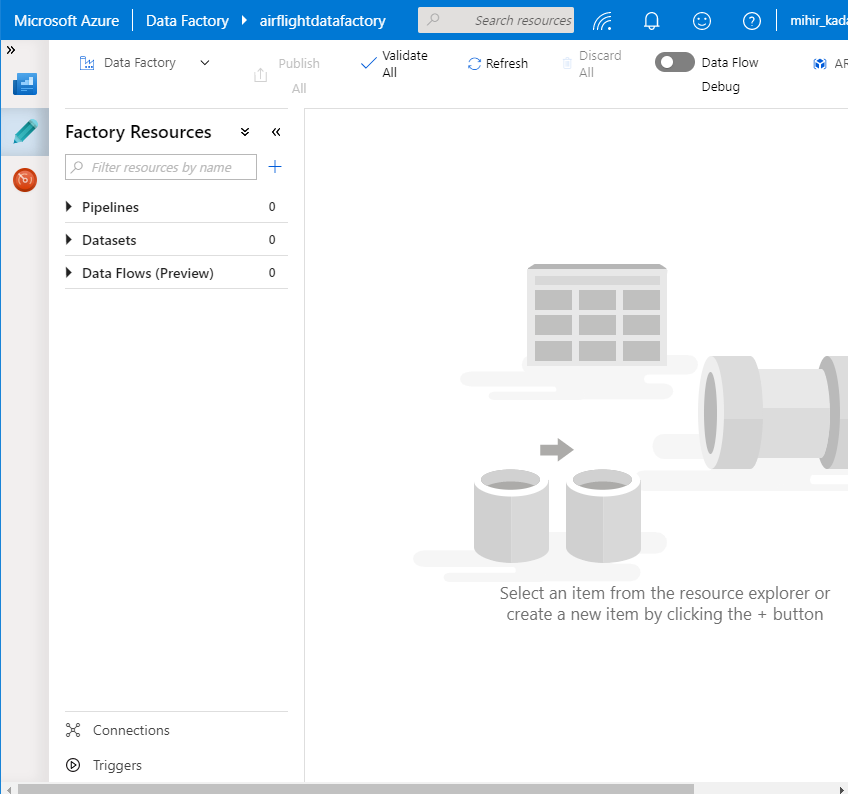
7. This is a canvas window for the Data Factory components.
8. Let’s create a connection with source service. In, our example we will connect with Azure Storage Account.
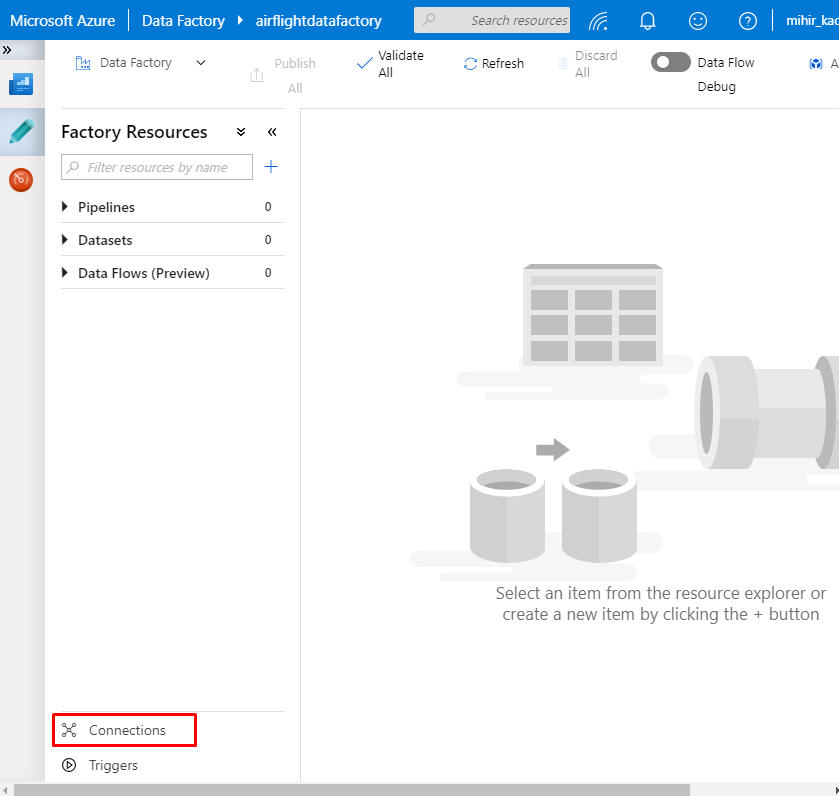
9. Select the Linked Services Tab and Click on + New button to create a new connection.
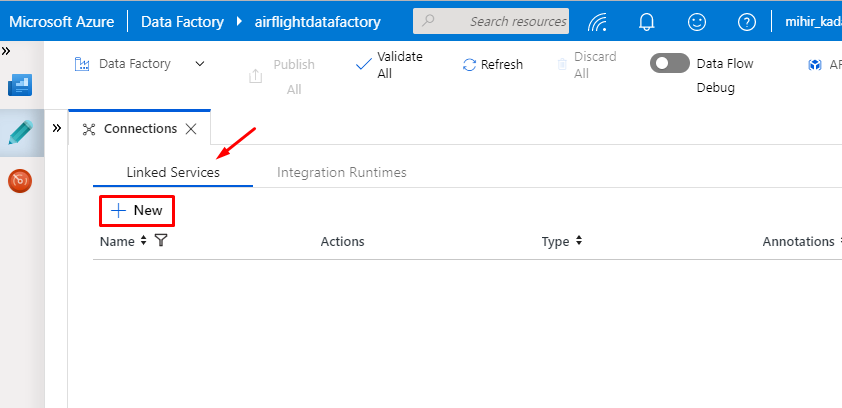
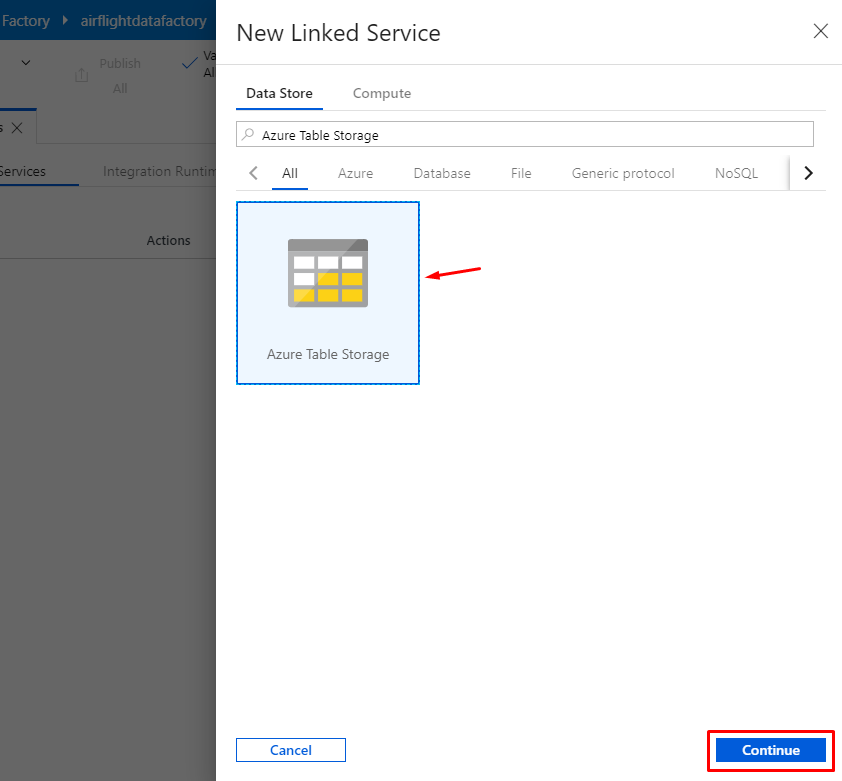
10. In the Search box, Type the Azure Table Storage.
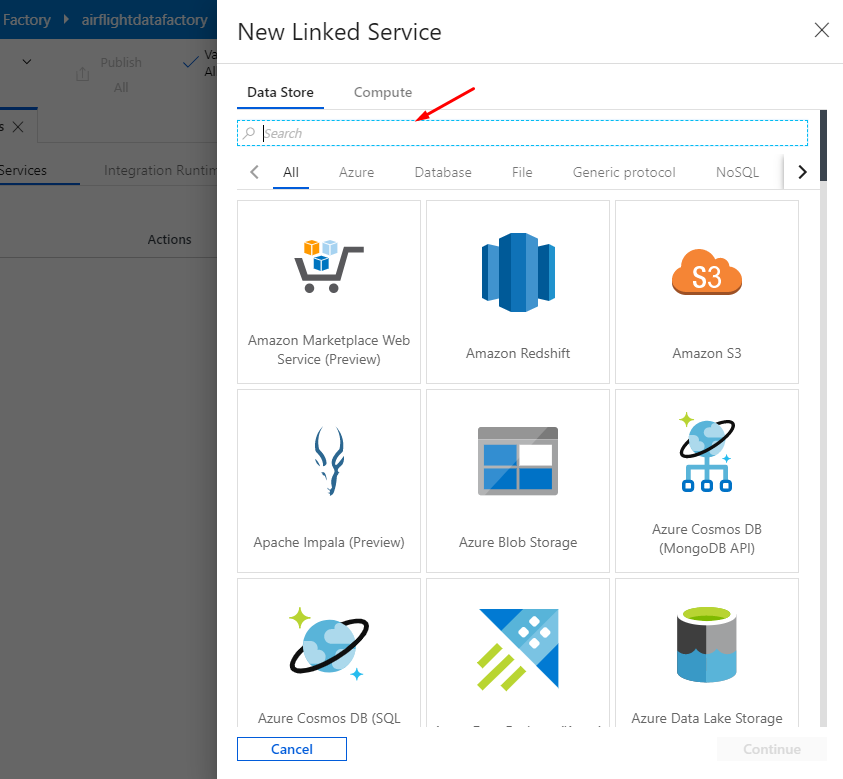
11. Select the Service and click on Continue.
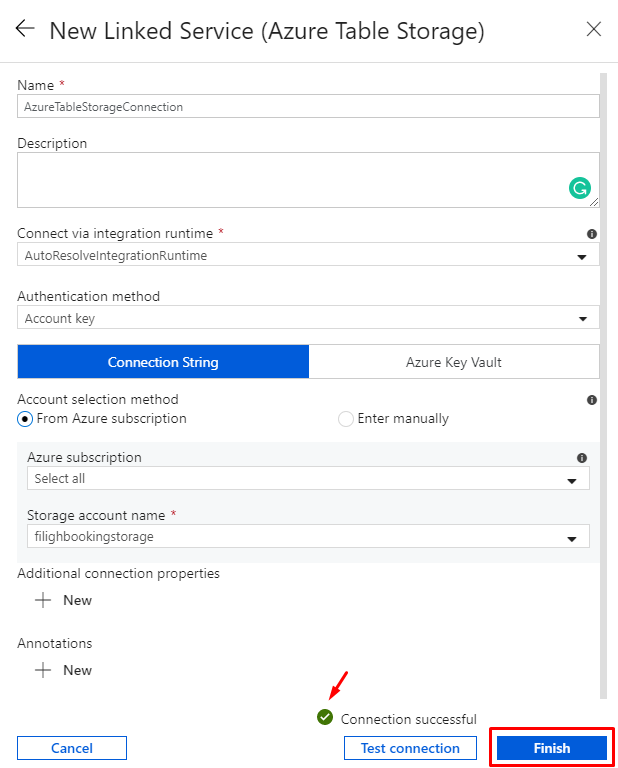
12. Enter the basic details and select the storage account from the dropdown.
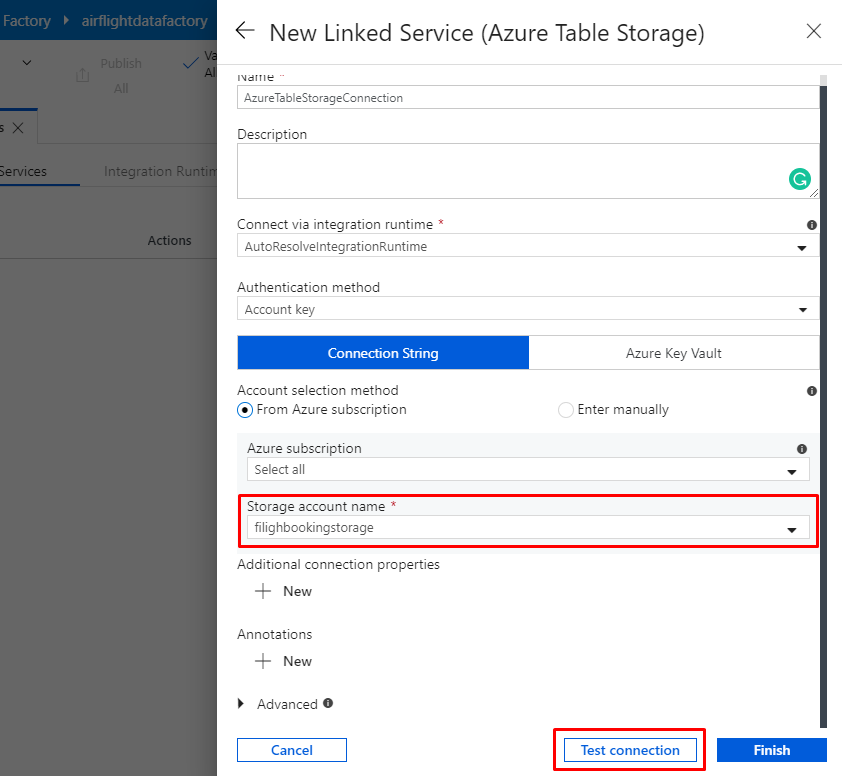
Note: If Storage account present in the different subscription then change the Account selection method to Enter manually.
Required information you will get from Storage Account > Settings > Access keys.
13. After the Connection is successfully verified, click on “Finish” button.
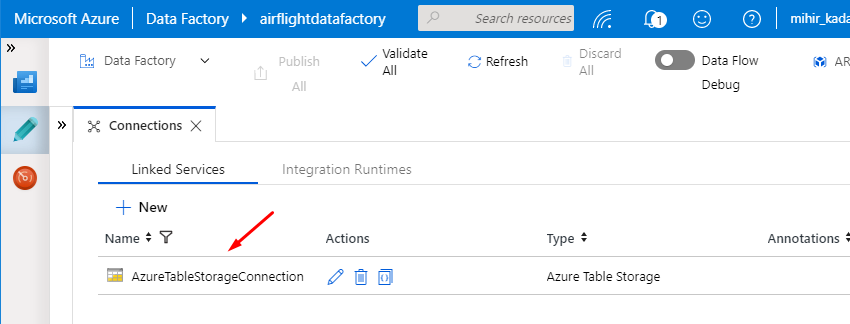
14. You can view the latest connection under linked services.
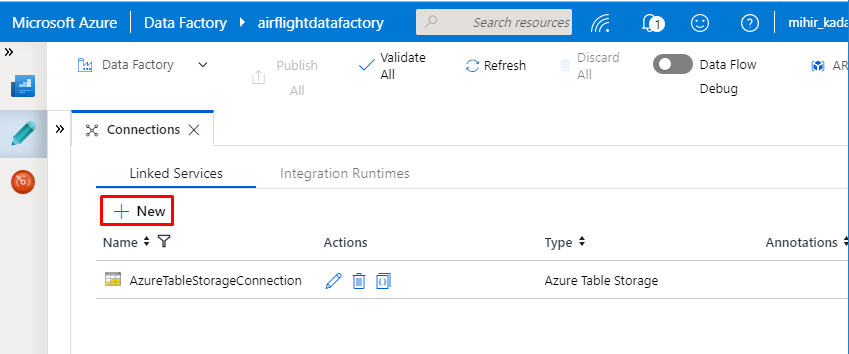
15. Let’s create another Linked service for Azure Data Lake Storage. Click on + New to create a connection.
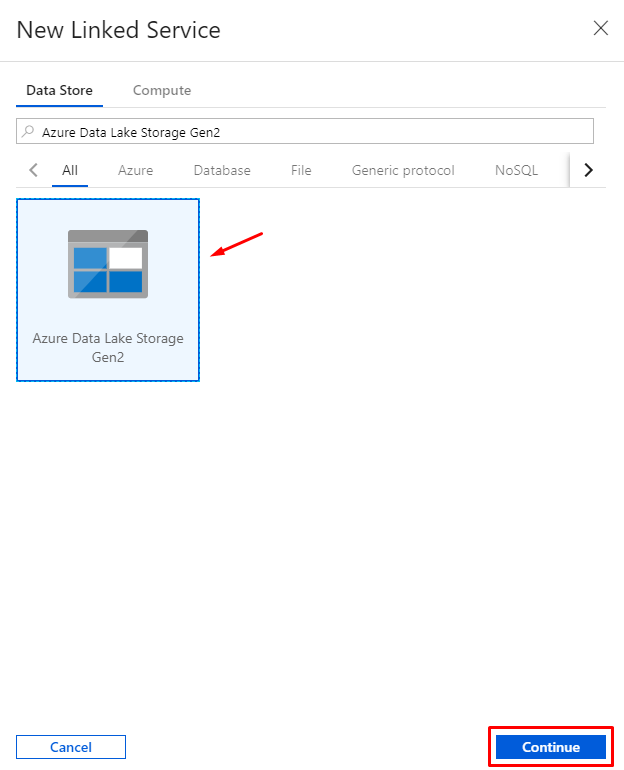
16. In the Search box, type Azure Data Lake Storage Gen2.

17. Select the service and click on “Continue”.
18. Enter the basic information and select the Data Lake Service from the dropdown menu.
Click on Test Connection to verify the connection.
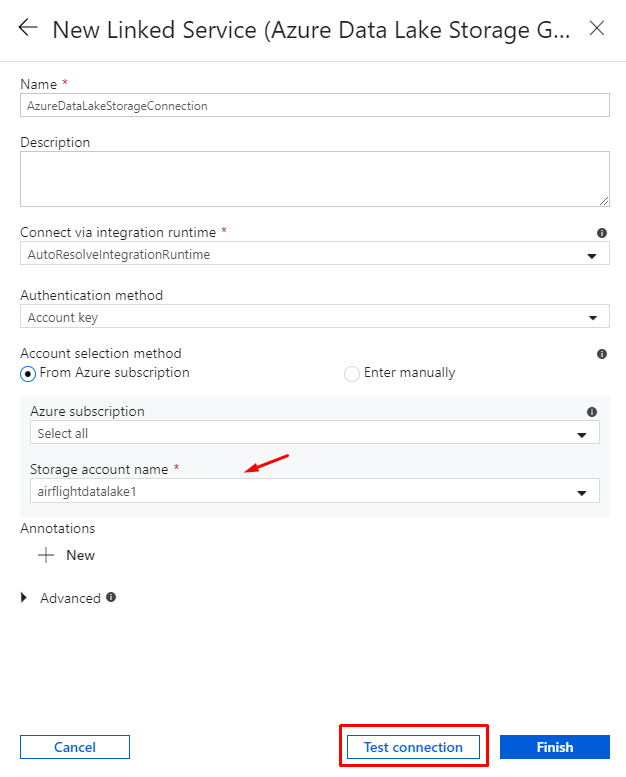
Note: If Data Lake Storage account present in the different subscription then change the Account selection method to Enter manually.
Required information you will get from Storage Account > Settings > Access keys.
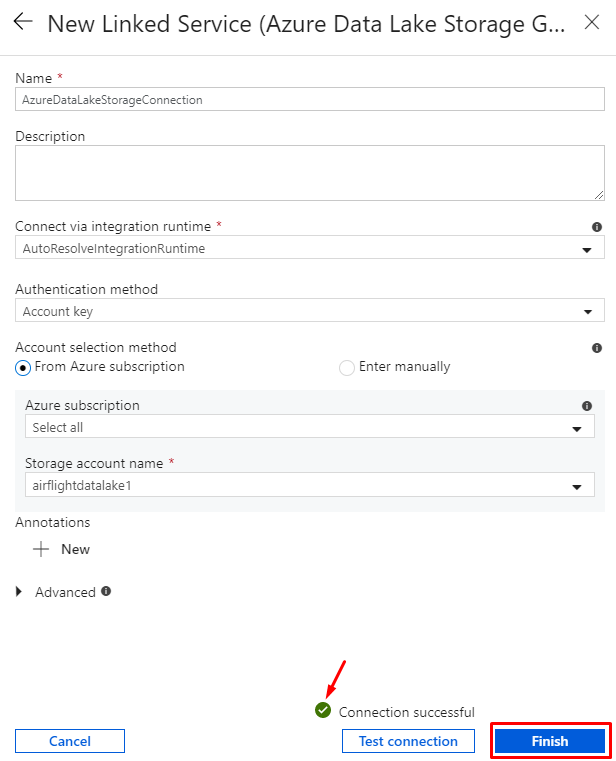
19. After the Connection is successfully verified, click on “Finish” button.
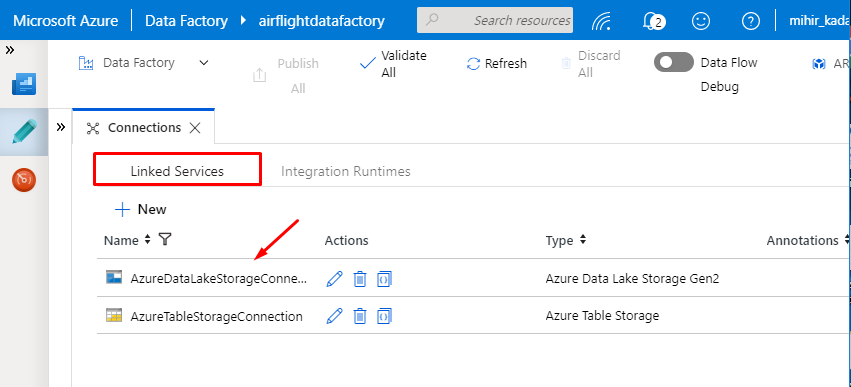
20. View the latest connection under Linked Services.
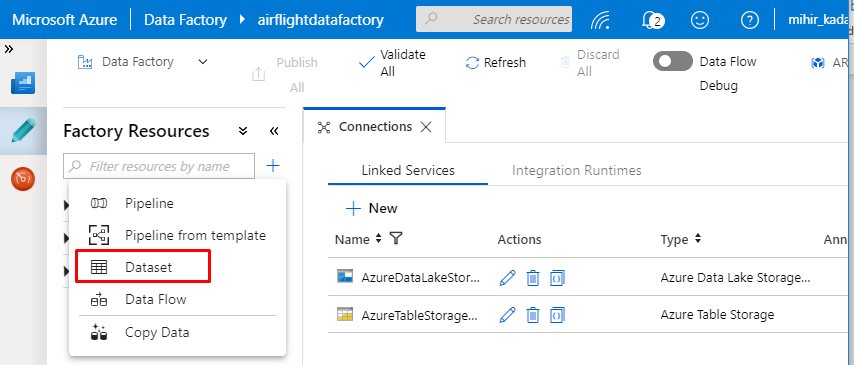
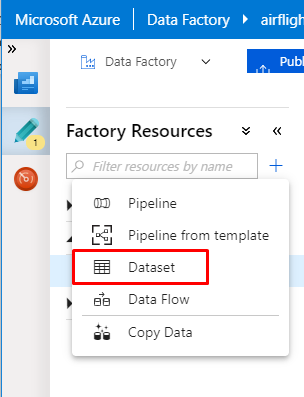
21. Now we will create a Data Sets for these services. Click on + Icon at the top.

22. Select the Dataset option.
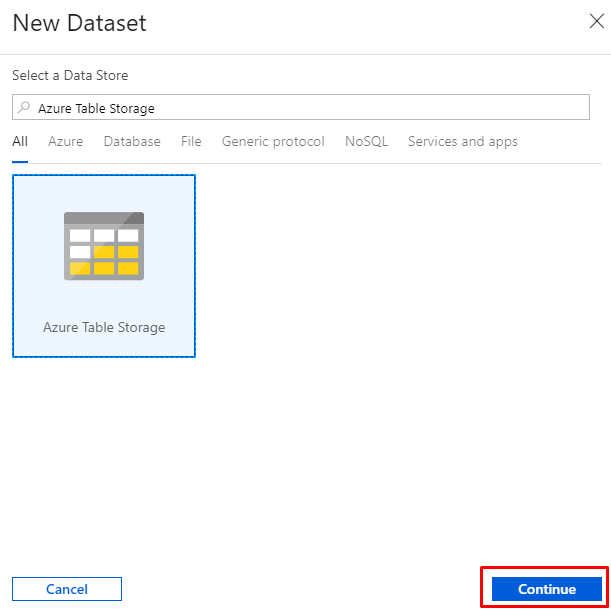
23. In the Pop-up window, Type Azure Table Storage in the search box.
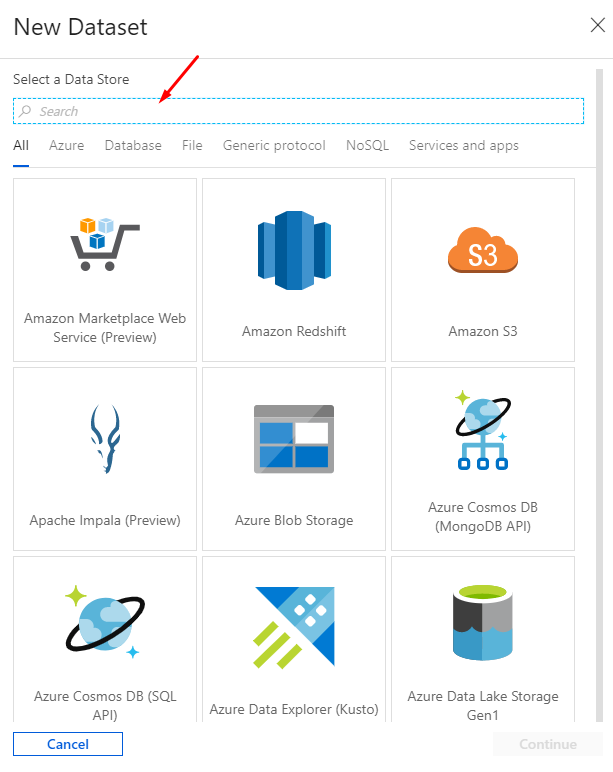
24. Select the Table Storage Service and Click on Continue.
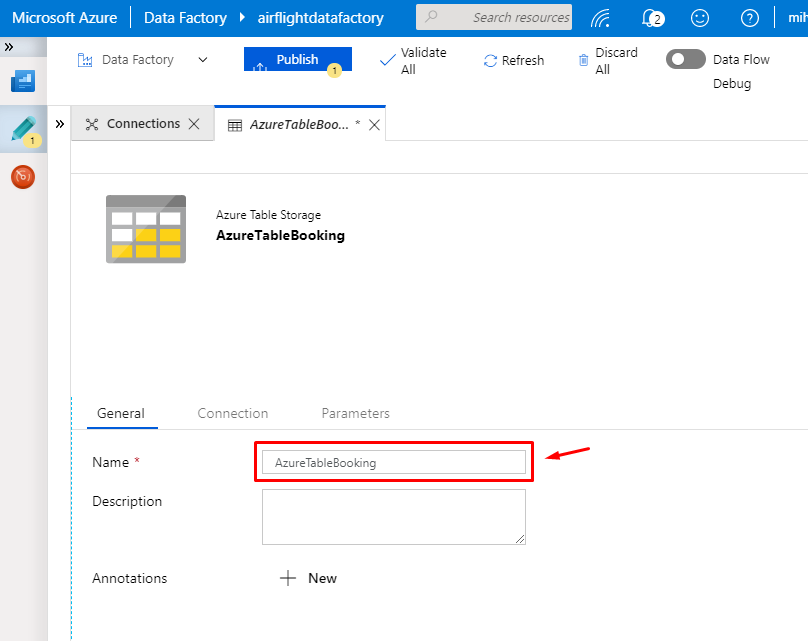
25. In the General settings, provide a meaningful name for the Azure Dataset.
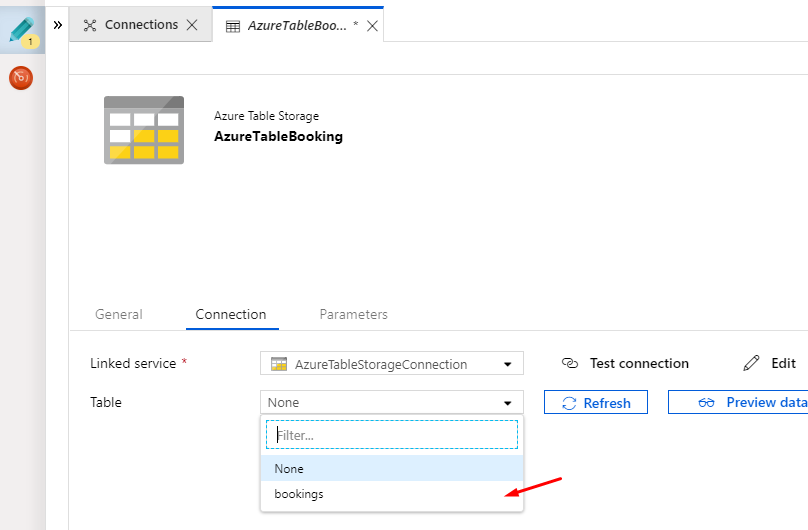
26. In the Connection Tab, Select Table Storage connection setting.
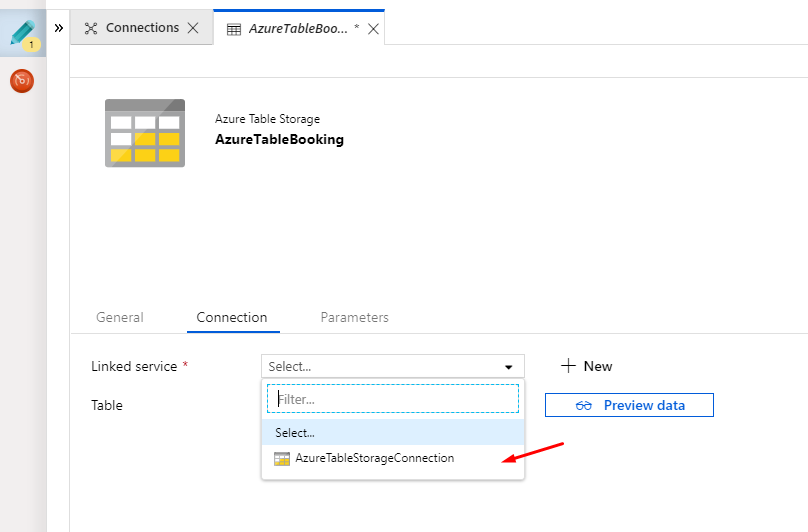
27. Select Table name from the dropdown.
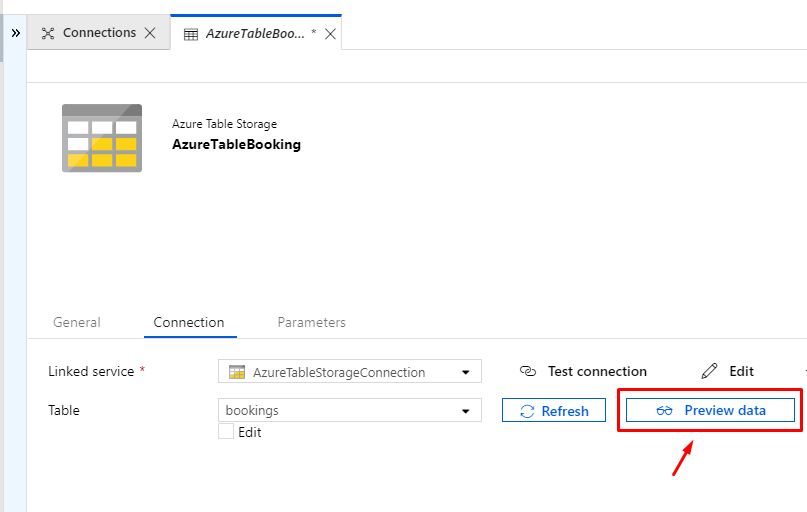
28. Click on “Preview data” to verify the table data.
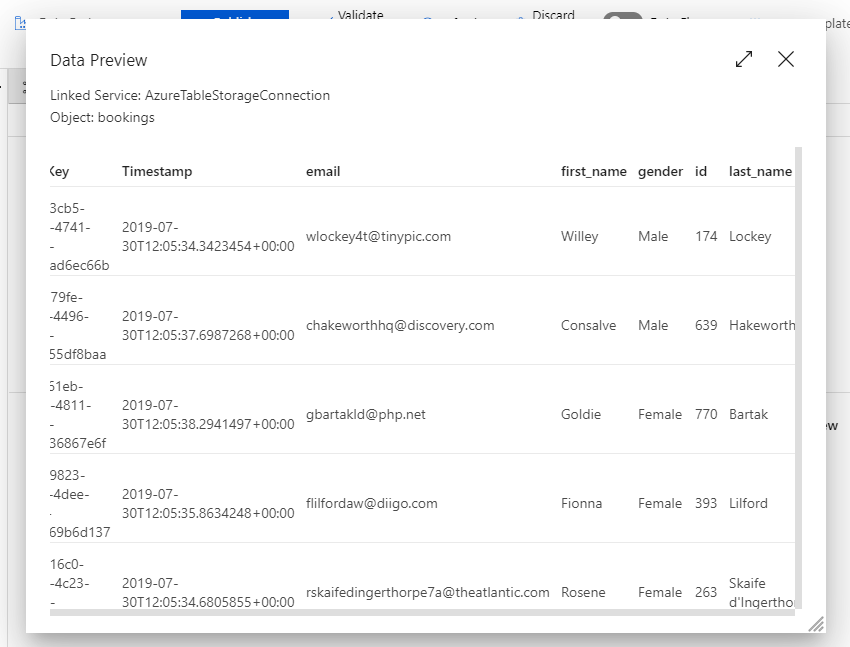
We have successfully created dataset for the Azure Table Storage. Now we will create another dataset for Azure Data Lake.
29. Click on + Icon.
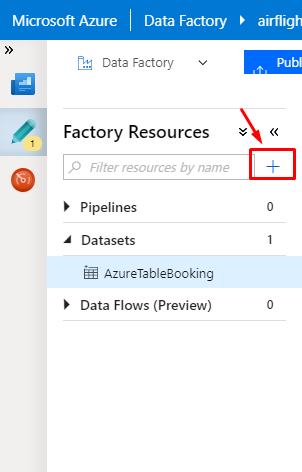
30. Click on “DataSet” option.
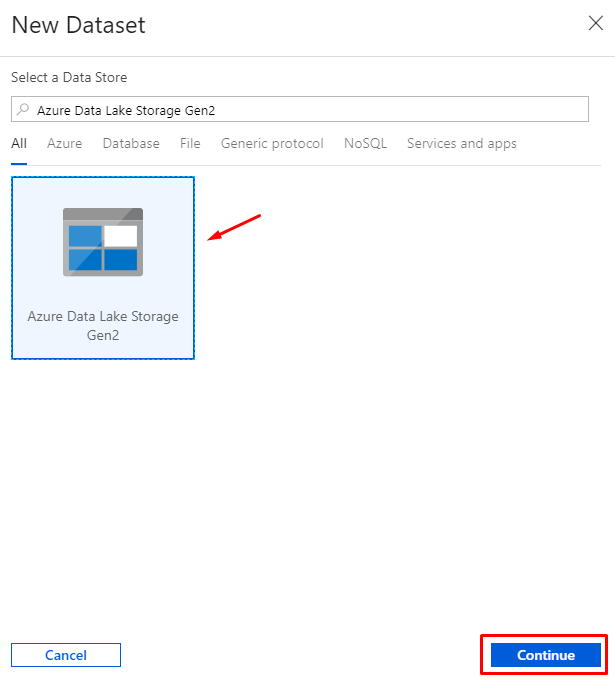
31. In the pop-up window, search for the “Azure Data Lake Storage Gen2”.
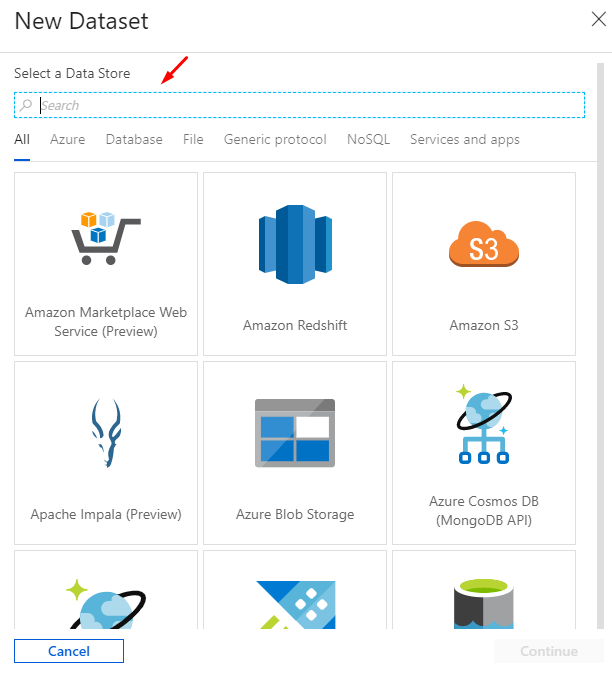
32. Select the service and click on continue.
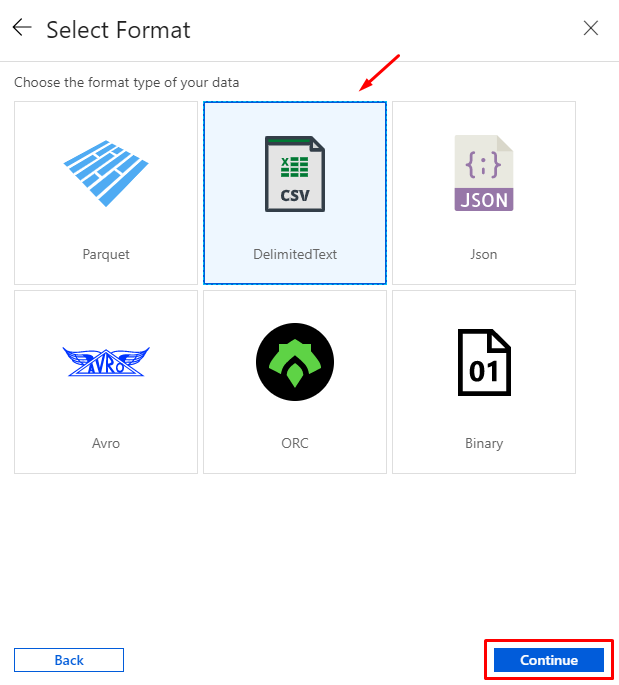
33. Select the format type for your data. We have selected Delaminated Text.
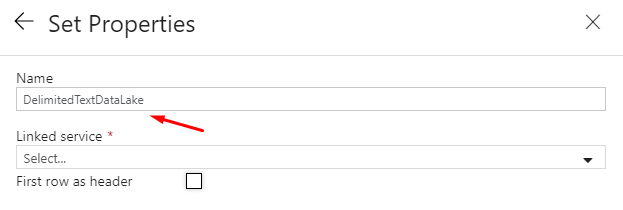
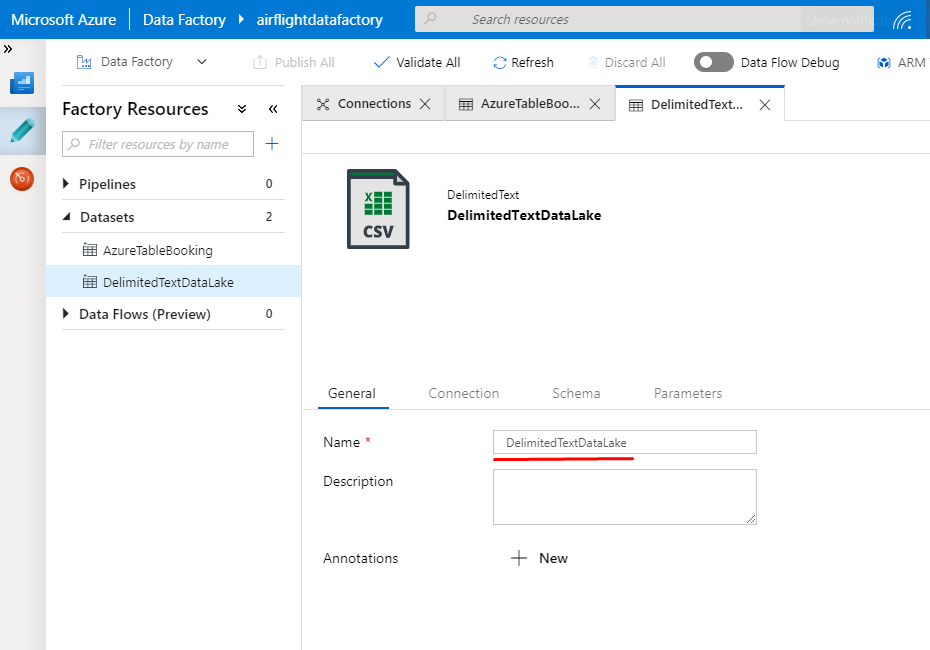
34. Enter a meaningful name for the Dataset.
35. Select the Azure Data Lake Storage Connection option from the dropdown.
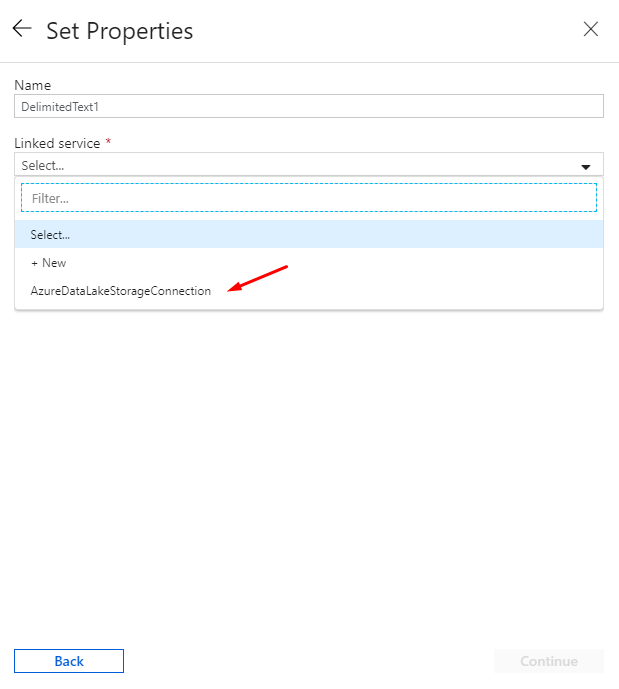
Click on “Browse” button.
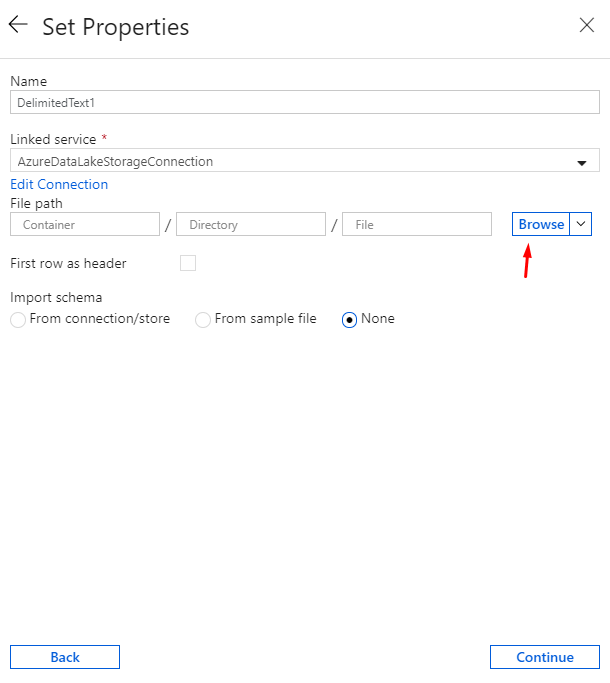
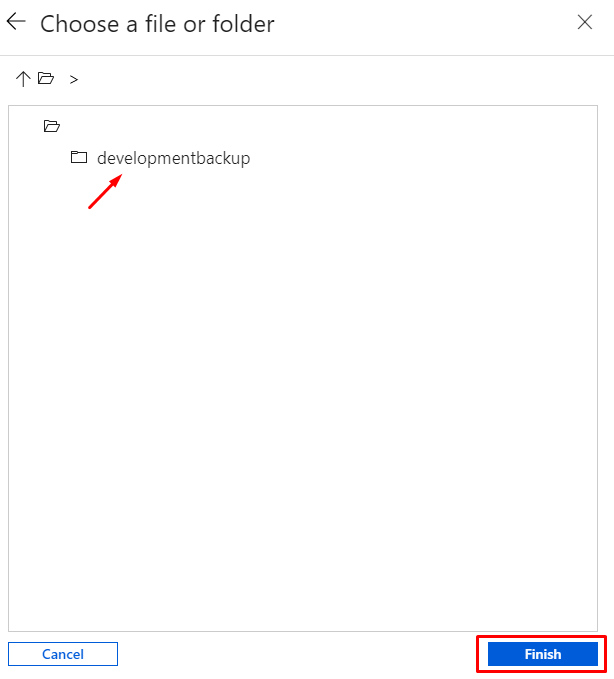
In the pop-up window, Select the folder “developmentbackup”. In your case, it will be deferent.

Enter the name of the file.

Marked the first row as header and select Import schema to none.
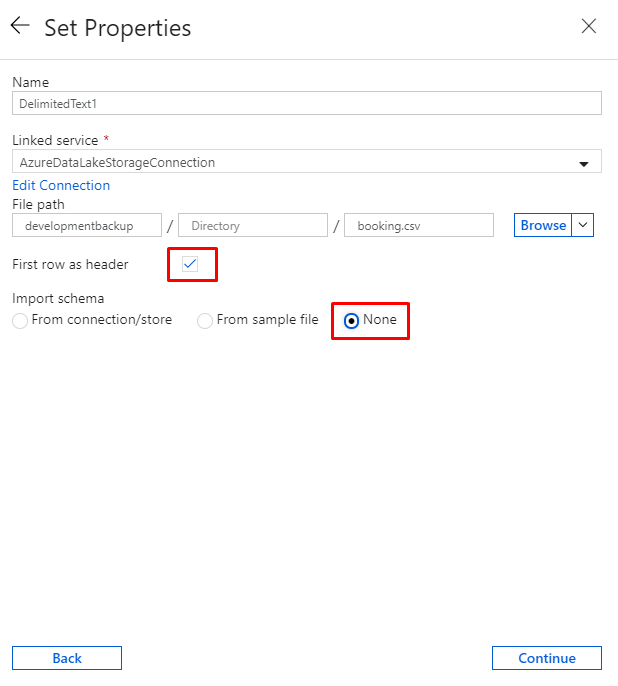
Click on Continue to move towards next step.
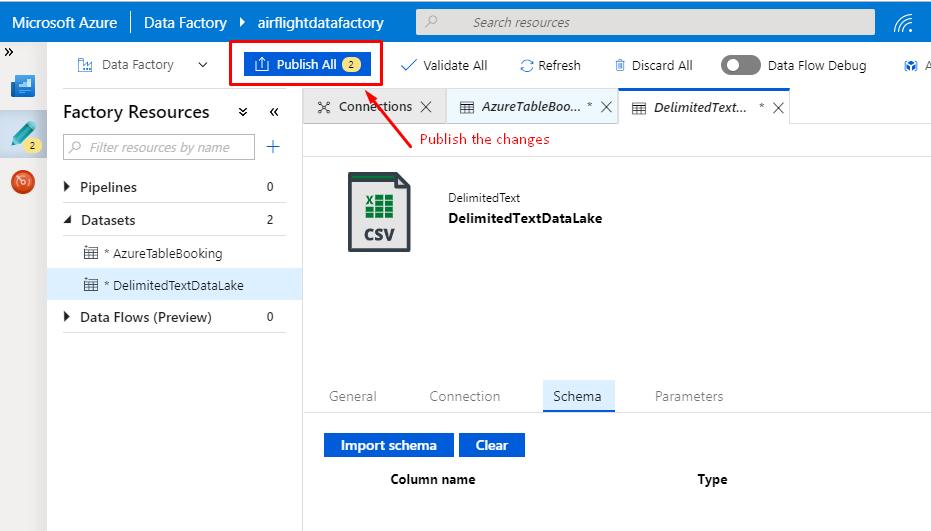
Kindly Verify the below settings.
General tab options
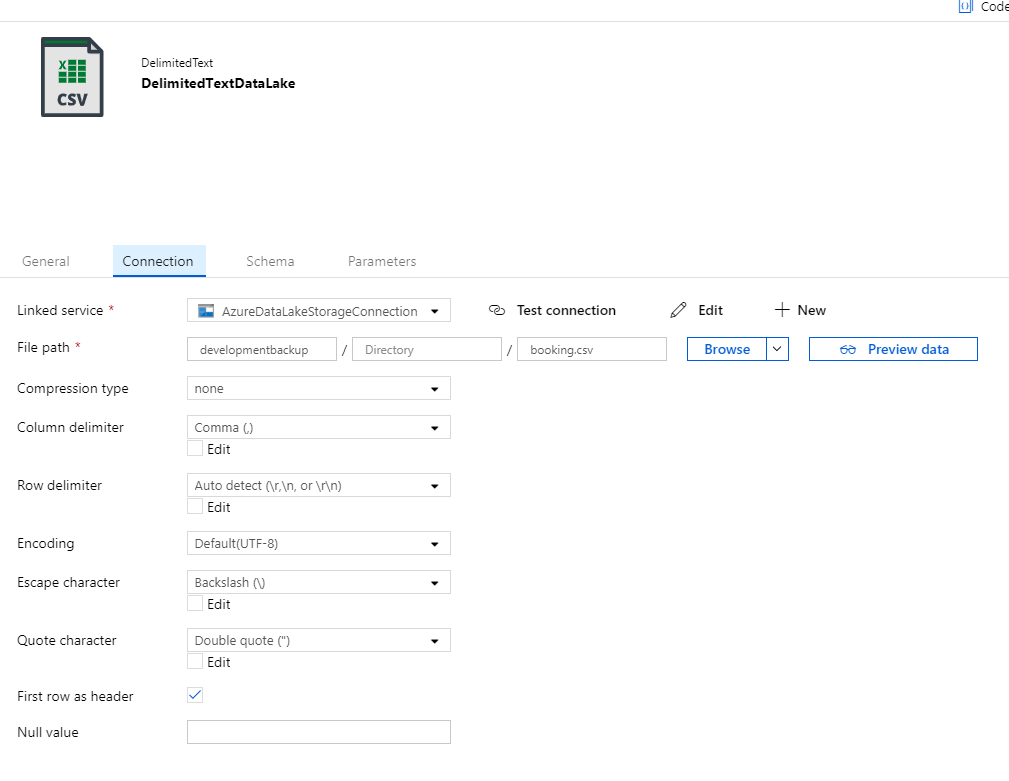
Connection tab option.
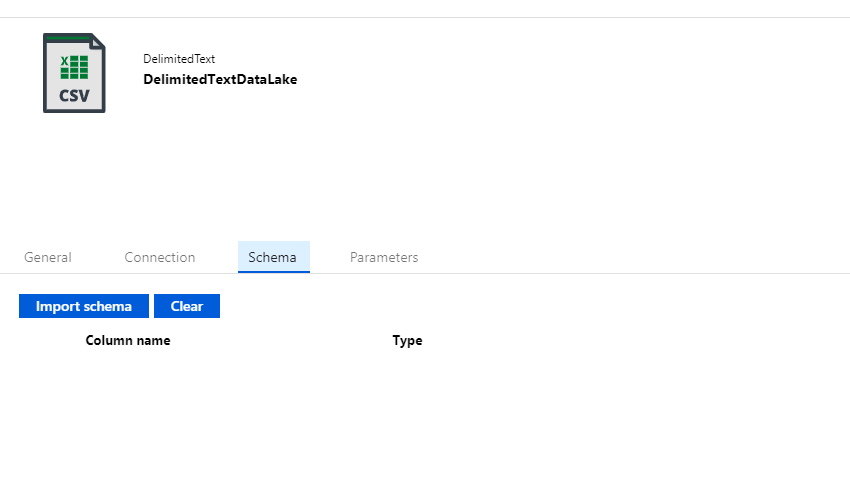
Schema option.
36. Click on Publish All to save all the changes.
37. Now, we will create a pipeline to perform Copy activity.
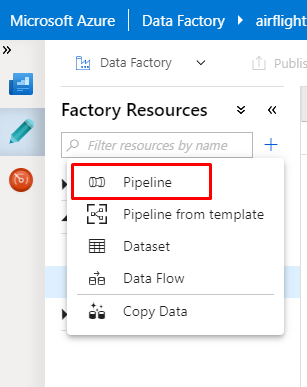
Click on + Icon
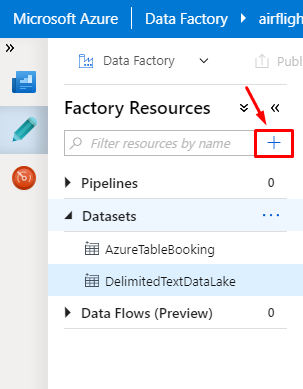
38. In the pop-up window, click on Pipeline.
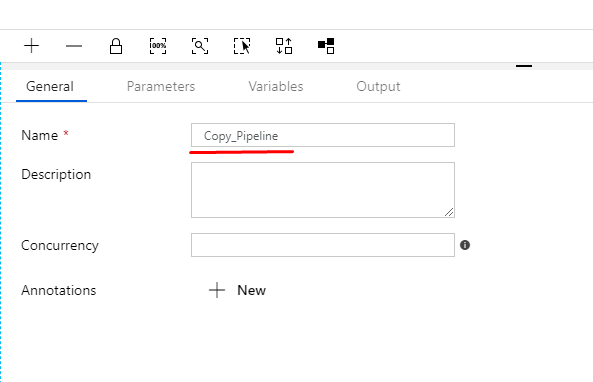
39. Below is the canvas window for the pipeline.
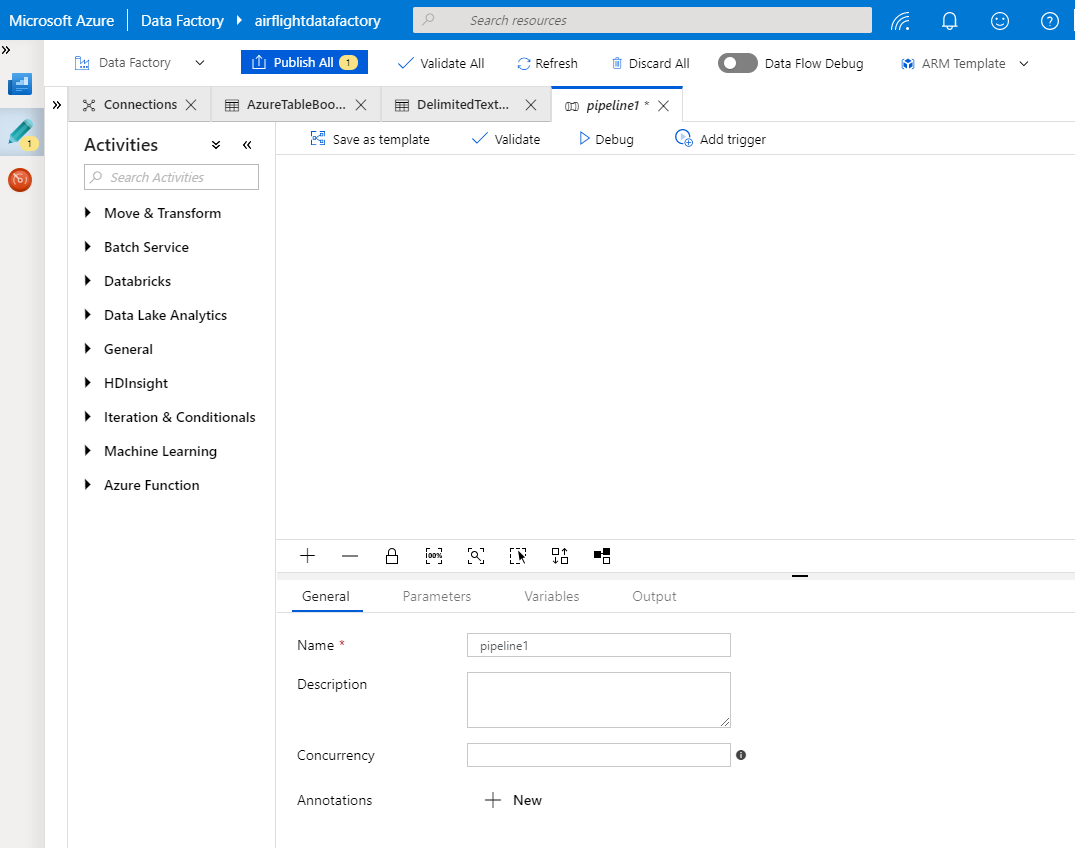
40. Provide a meaningful name for the Pipeline.
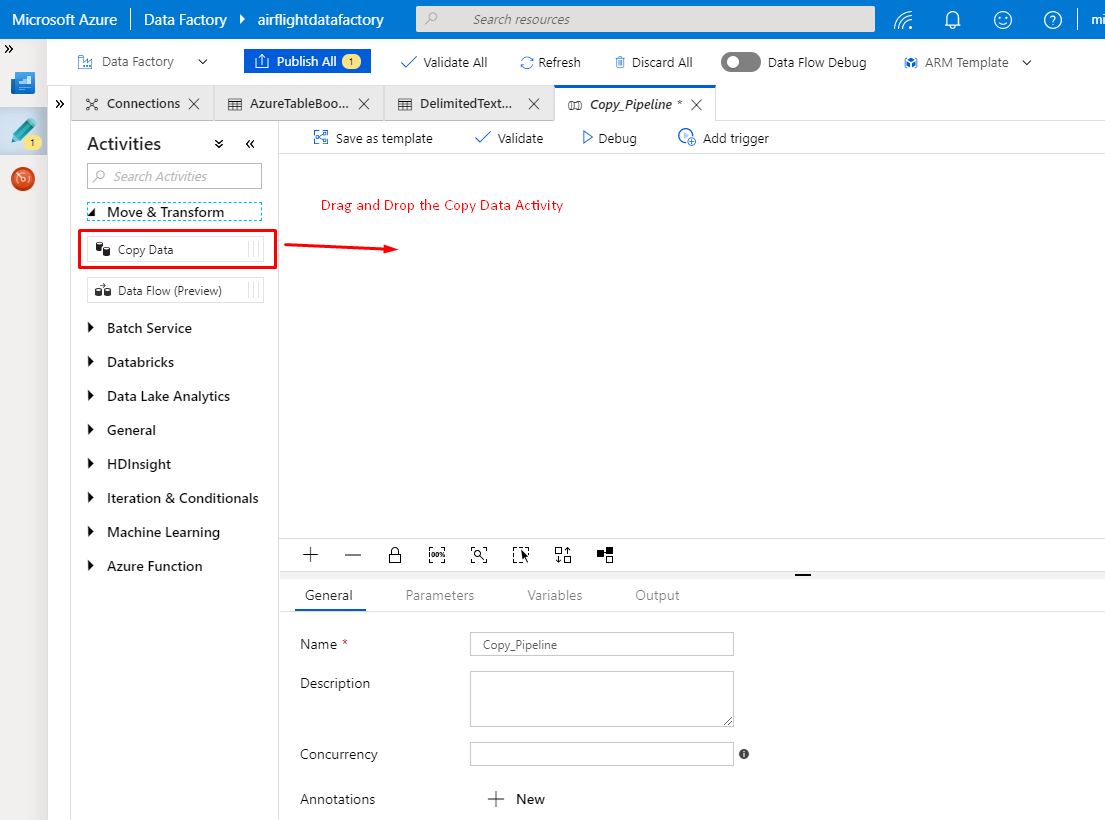
41. In the left panel (Move & Transform), Select Copy data Activity and drop it to the canvas window.
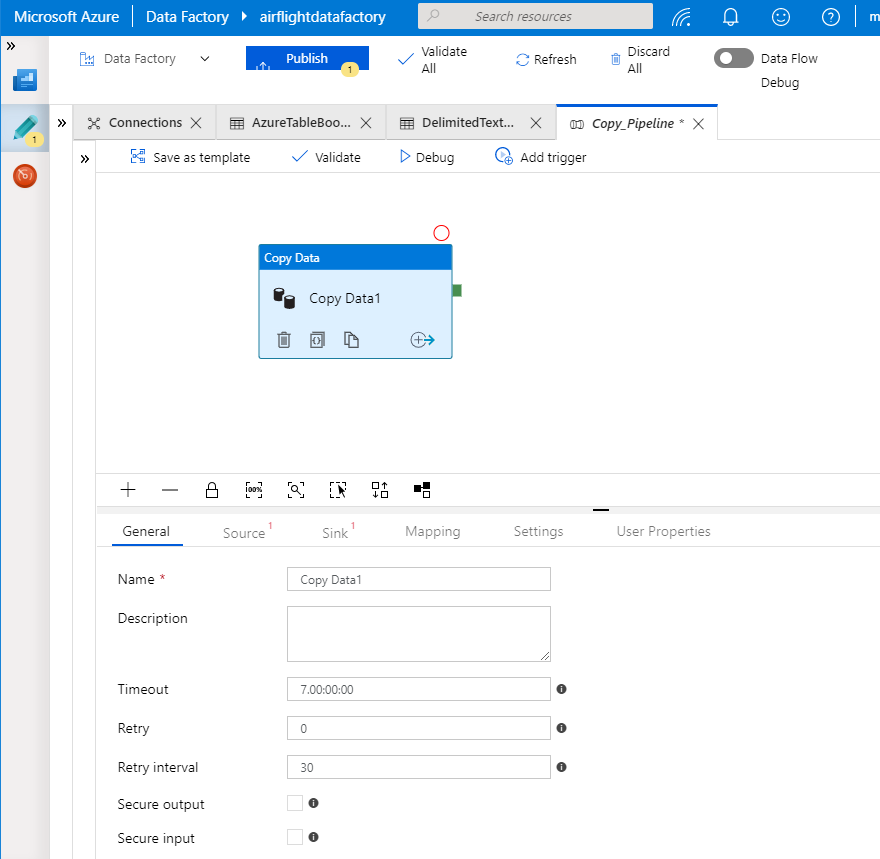
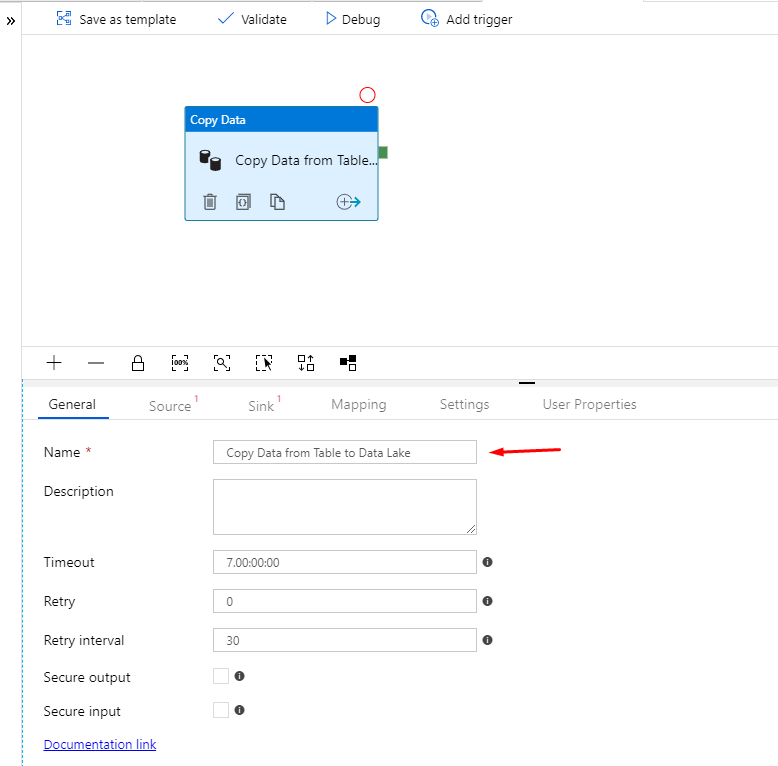
42. Provide a meaningful name for the copy activity.
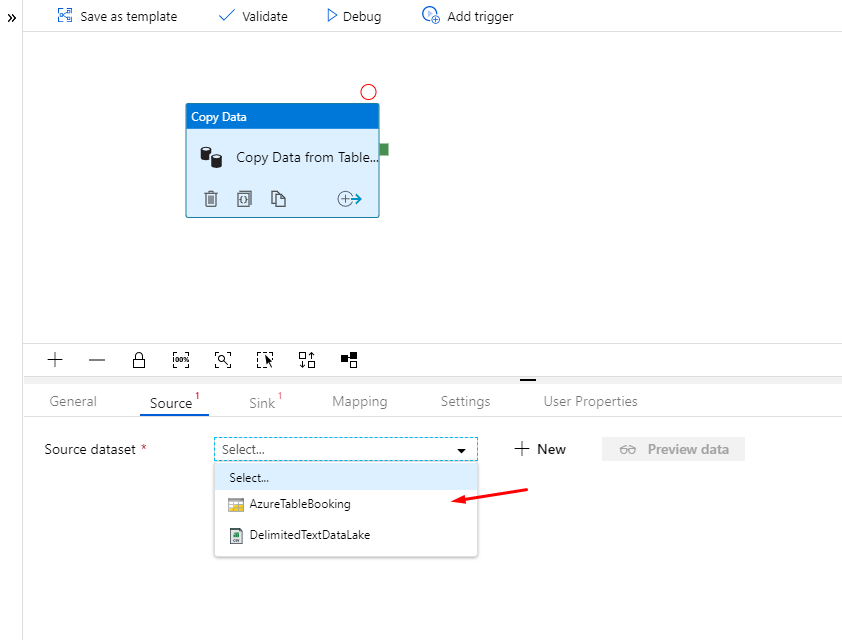
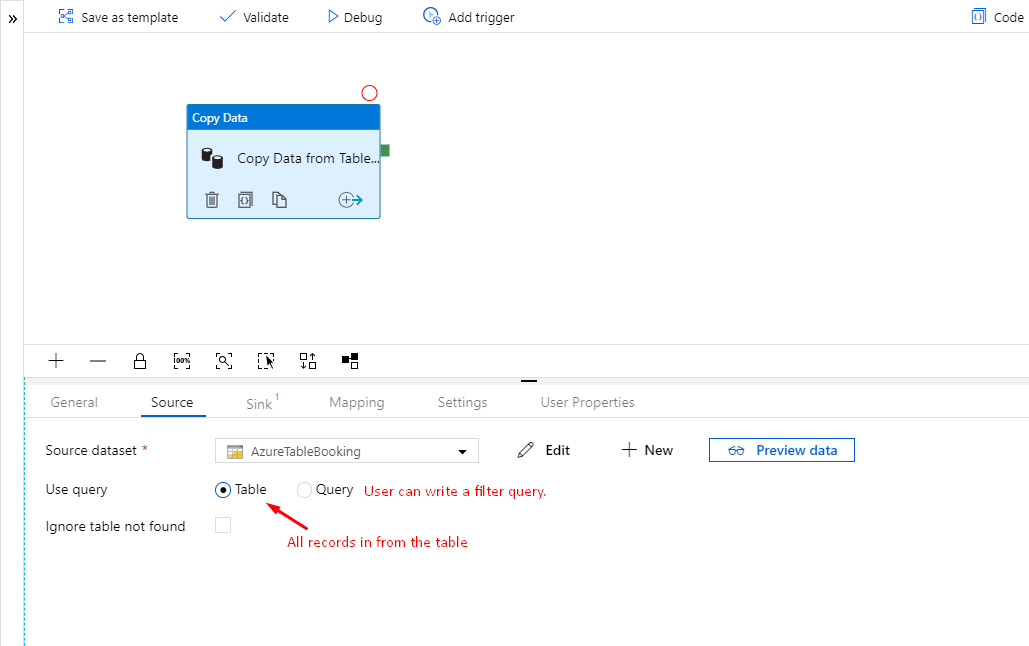
43. In the Source tab, Select the source table data set option from the dropdown.
Select use query option to Table.
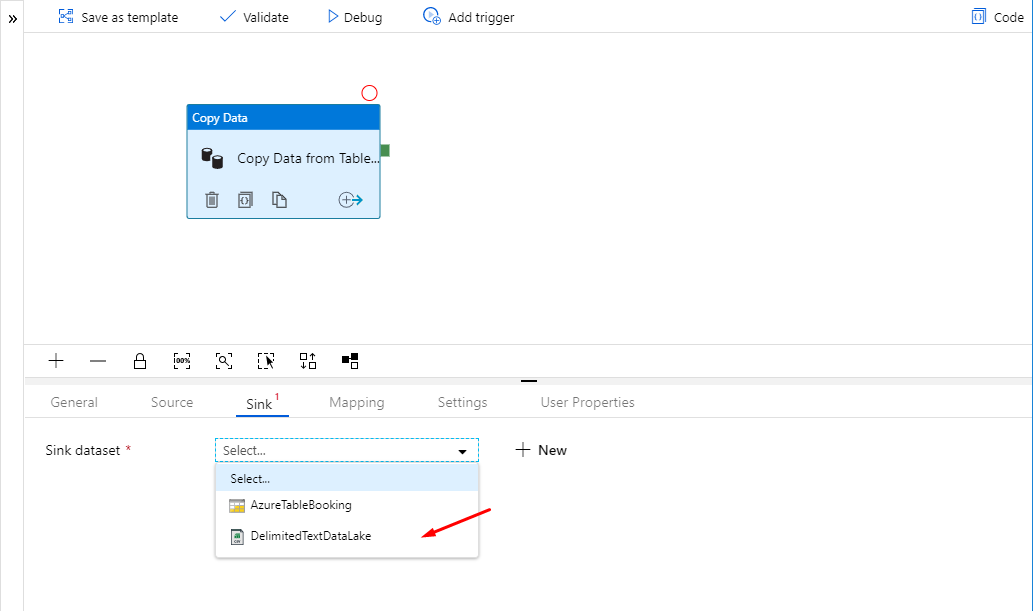
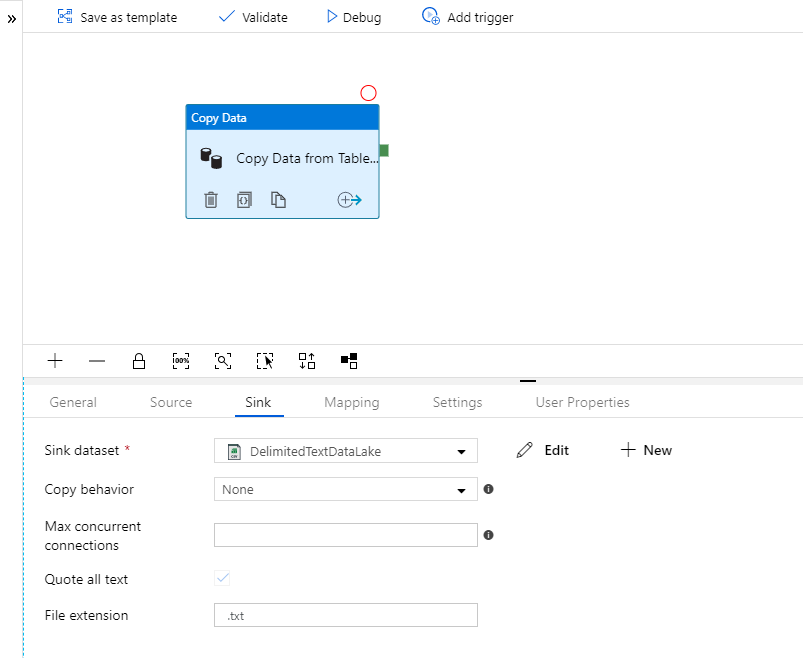
In the sink tab, select data lake option from the dropdown.
Kindly review the below settings.
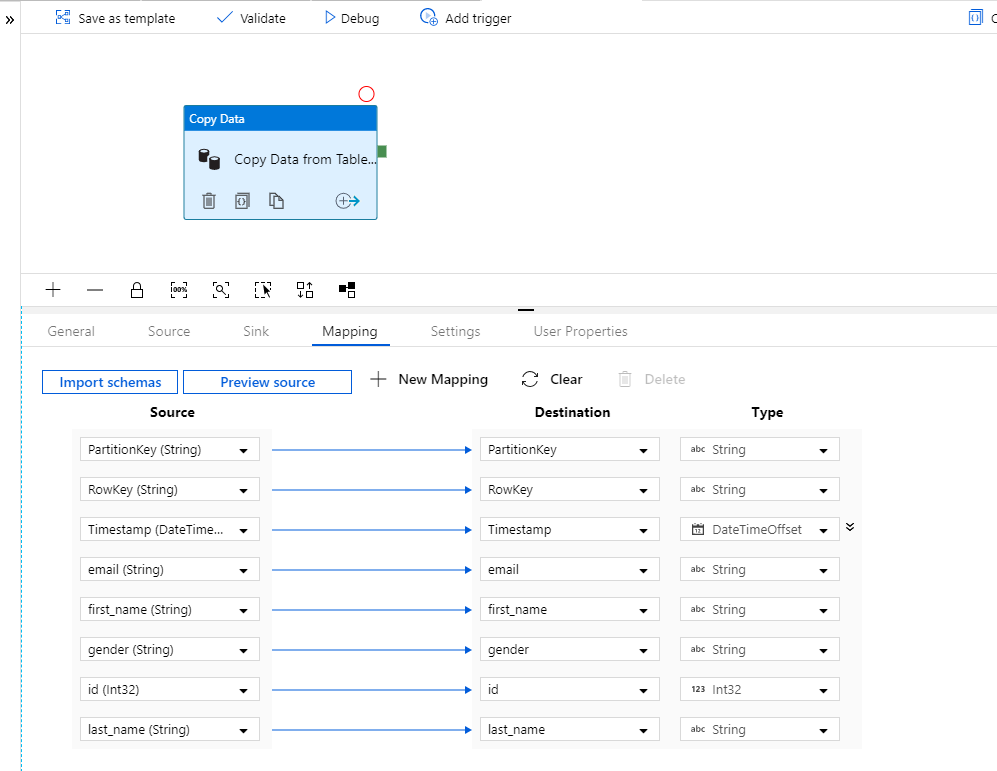
In the Mapping Tab, Click on Import schemas.
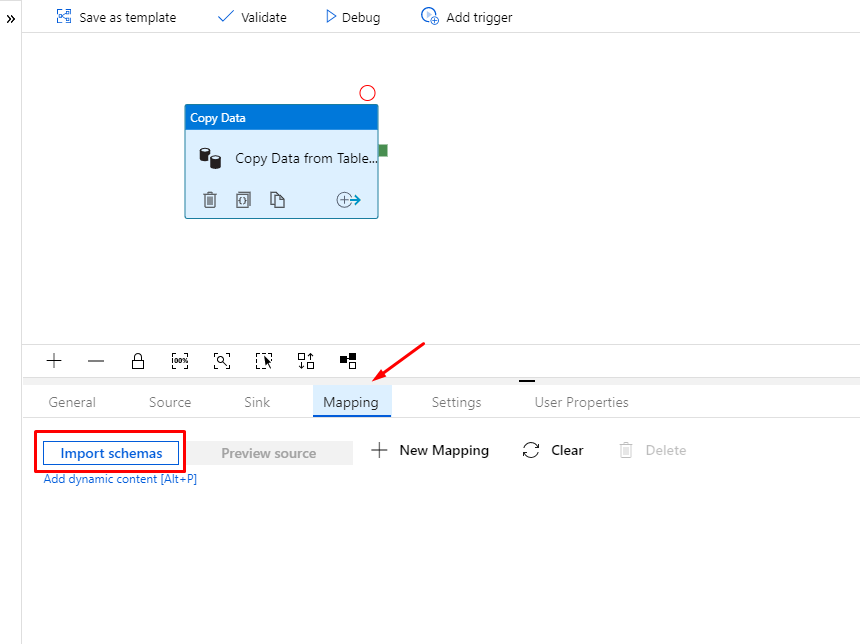
Kindly review the mapping.
Copy activity changes are completed.
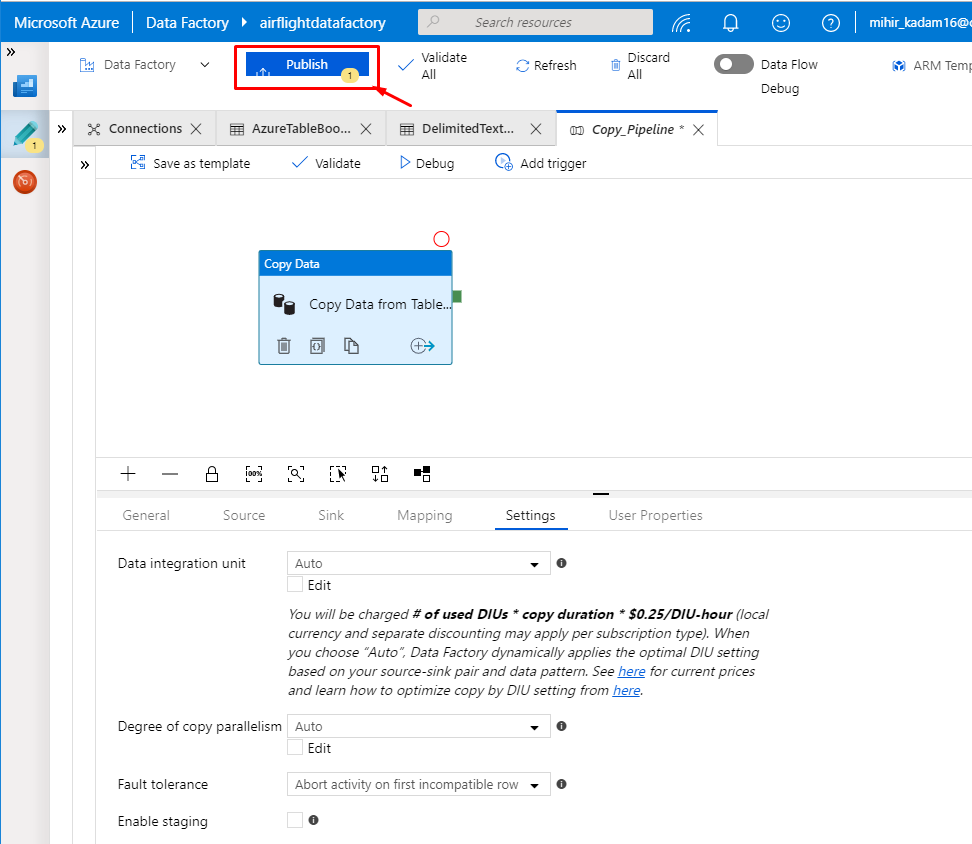
44. Click on Publish button to save the changes.
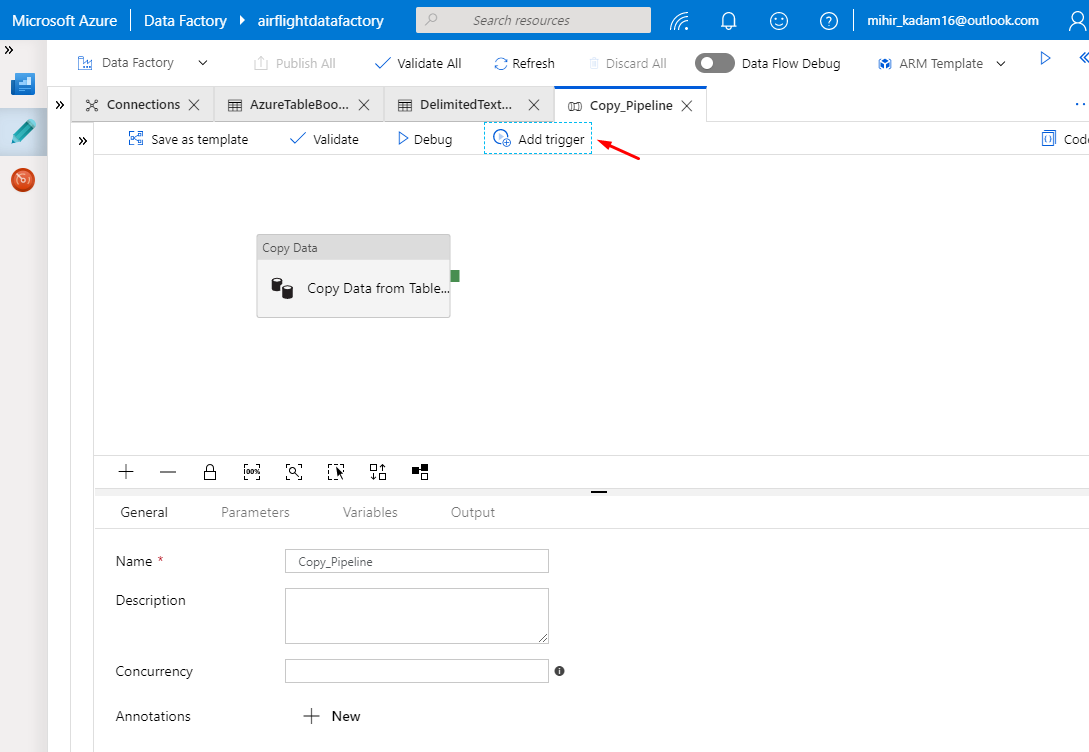
We have completed with all the settings. Let’s trigger this pipeline to view the copy activity in action.
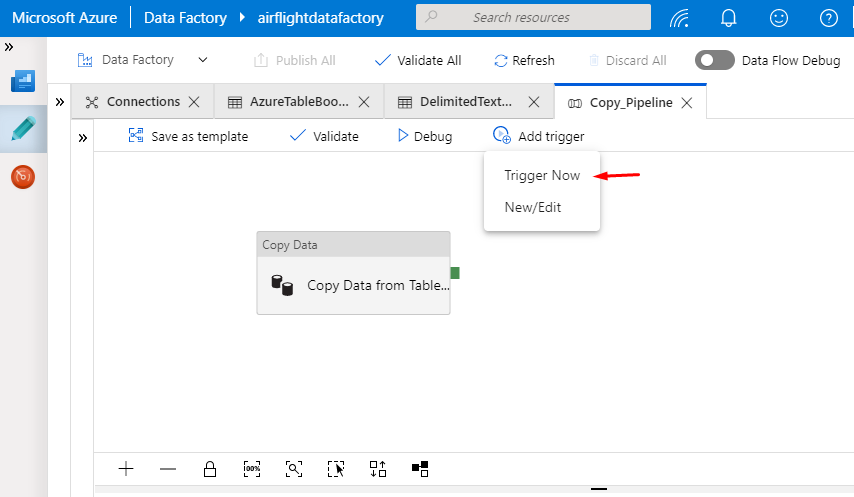
45. Click on Add Trigger Button.
46. Select trigger now option.
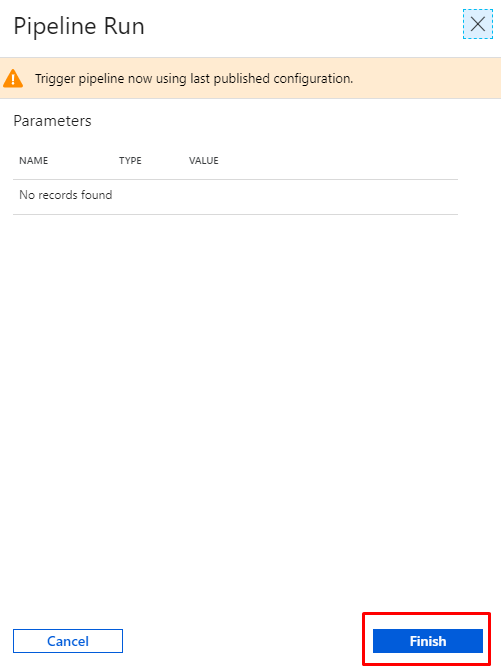
47. In the pop-up window, click on Finish button.
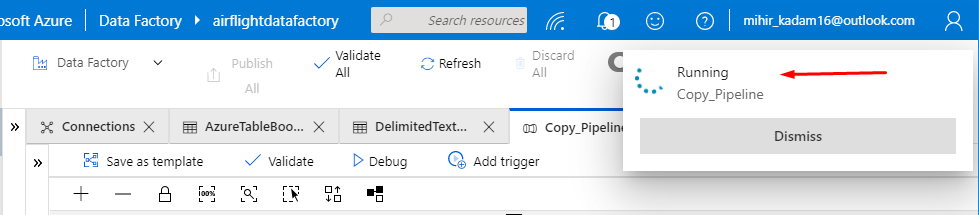
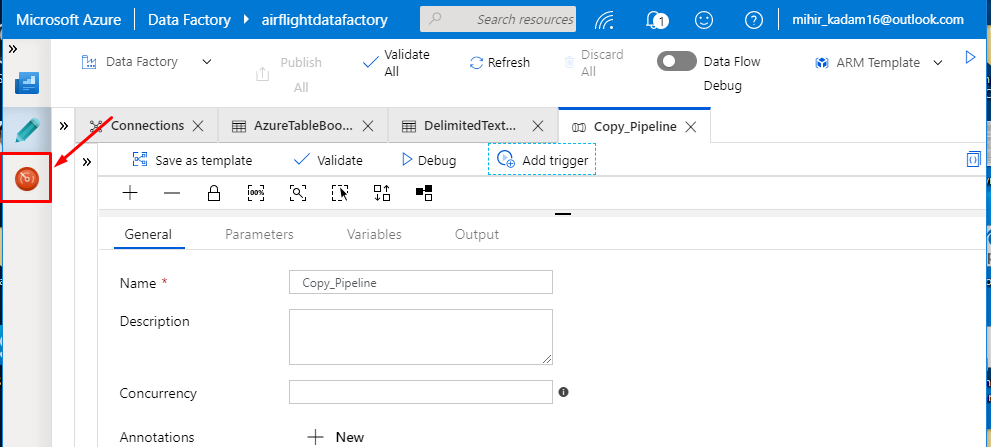
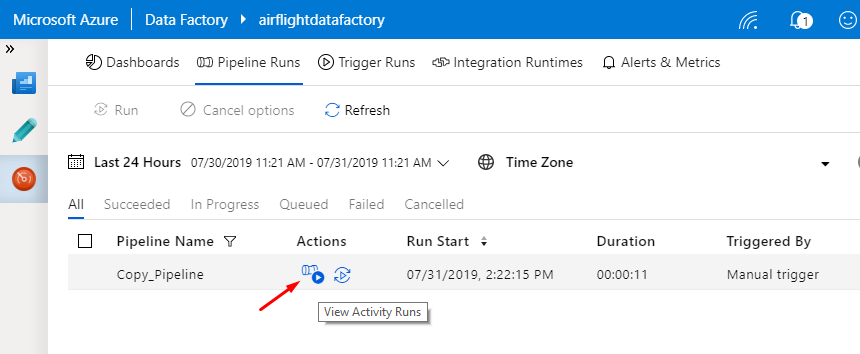
48. Select Monitor option.
Click on View Activity Runs to view more details about progress.
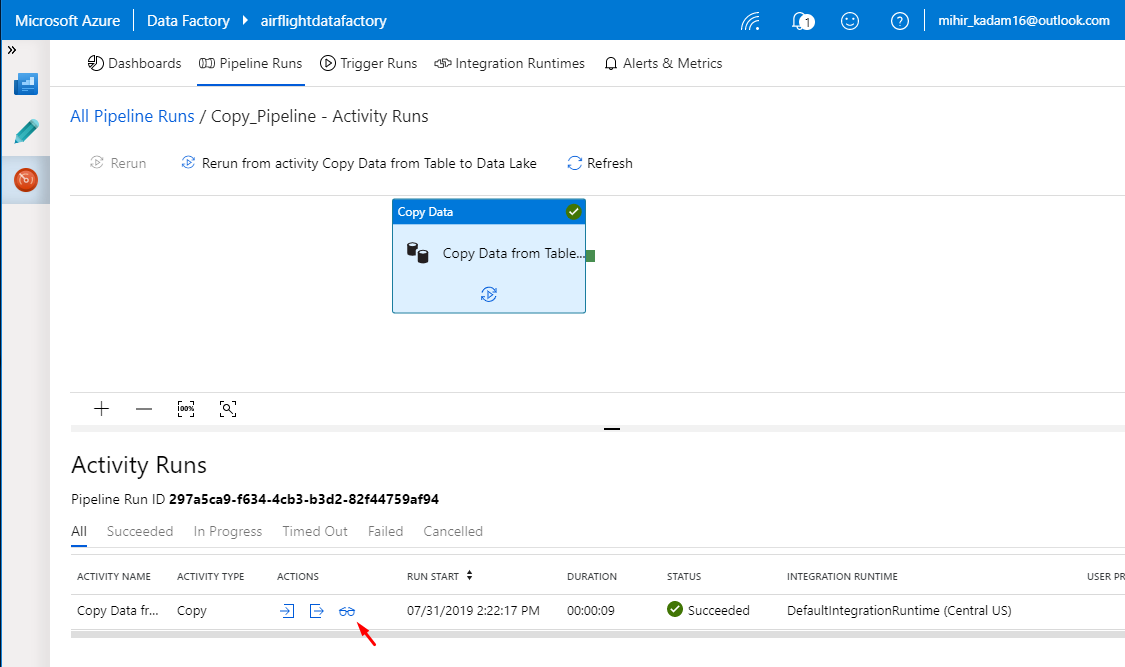
Click on details icon.
Detailed status about copy activity.
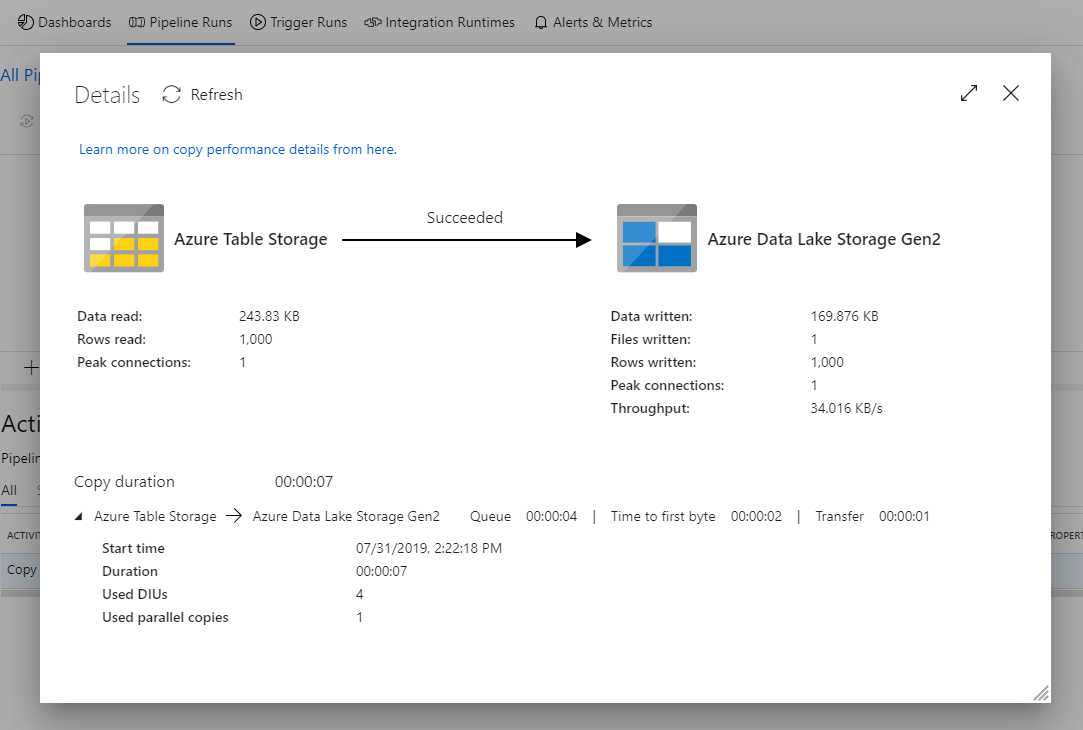
The data has been successfully copied to data lake.
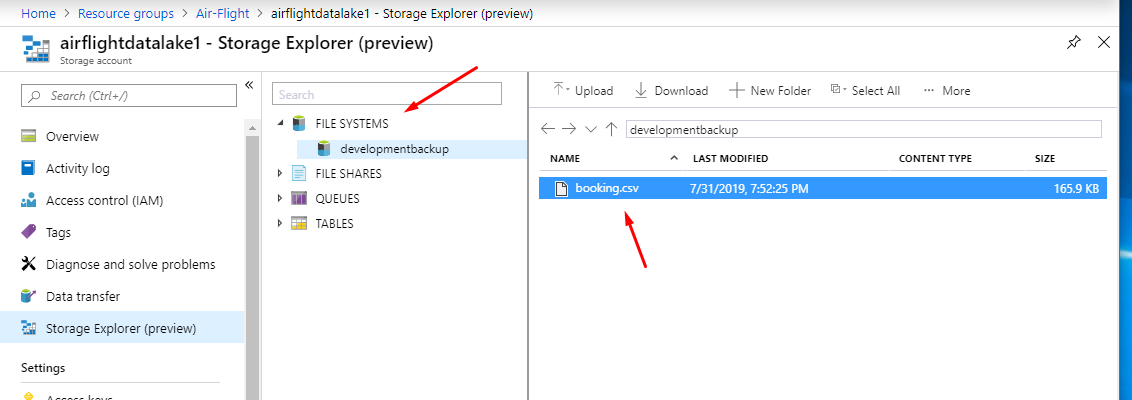
49. To view the file, you can navigate to azure portal and open the data lake storage. Click on Storage Explorer option from the left navigation panel.

Expand the File System view and select developmentbackup.
References:
1. https://docs.microsoft.com/en-us/azure/data-factory/copy-activity-overview
2. https://docs.microsoft.com/en-us/azure/data-factory/